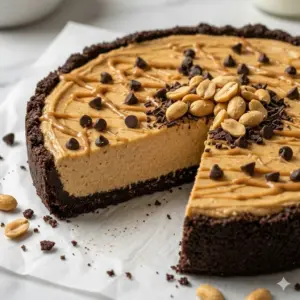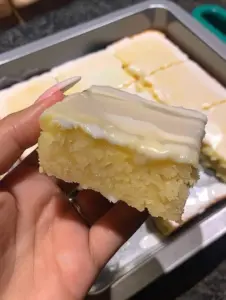

Thanks for being here! I’m so excited to share this recipe for Irresistibly Soft Chocolate Rice Krispie Treats with you. These delightful treats hold a special place in my heart, as they remind me of the joy and simplicity of childhood. The blissful crunch paired with gooey chocolate creates a flavor profile that feels nostalgic and comforting. They are the perfect snacks for cozy gatherings or a sweet midnight treat, and I can’t wait for you to experience the magic!
Overview of Recipe Content
Irresistibly Soft Chocolate Rice Krispie Treats are a delicious twist on the classic childhood favorite. These goodies are incredibly quick to make and offer a delightful blend of crispy and chewy textures, making them a crowd-pleaser at any gathering. They’re perfect for birthdays, potlucks, or simply as an after-school snack that warms the heart. The recipe is packed with rich chocolate flavor, balanced with the nostalgic taste of marshmallows, creating an indulgent treat that will transport you back to simpler times. Plus, you’ll be happy to know that rice cereal snacks provide a good source of carbohydrates for a quick energy boost!
Ingredients
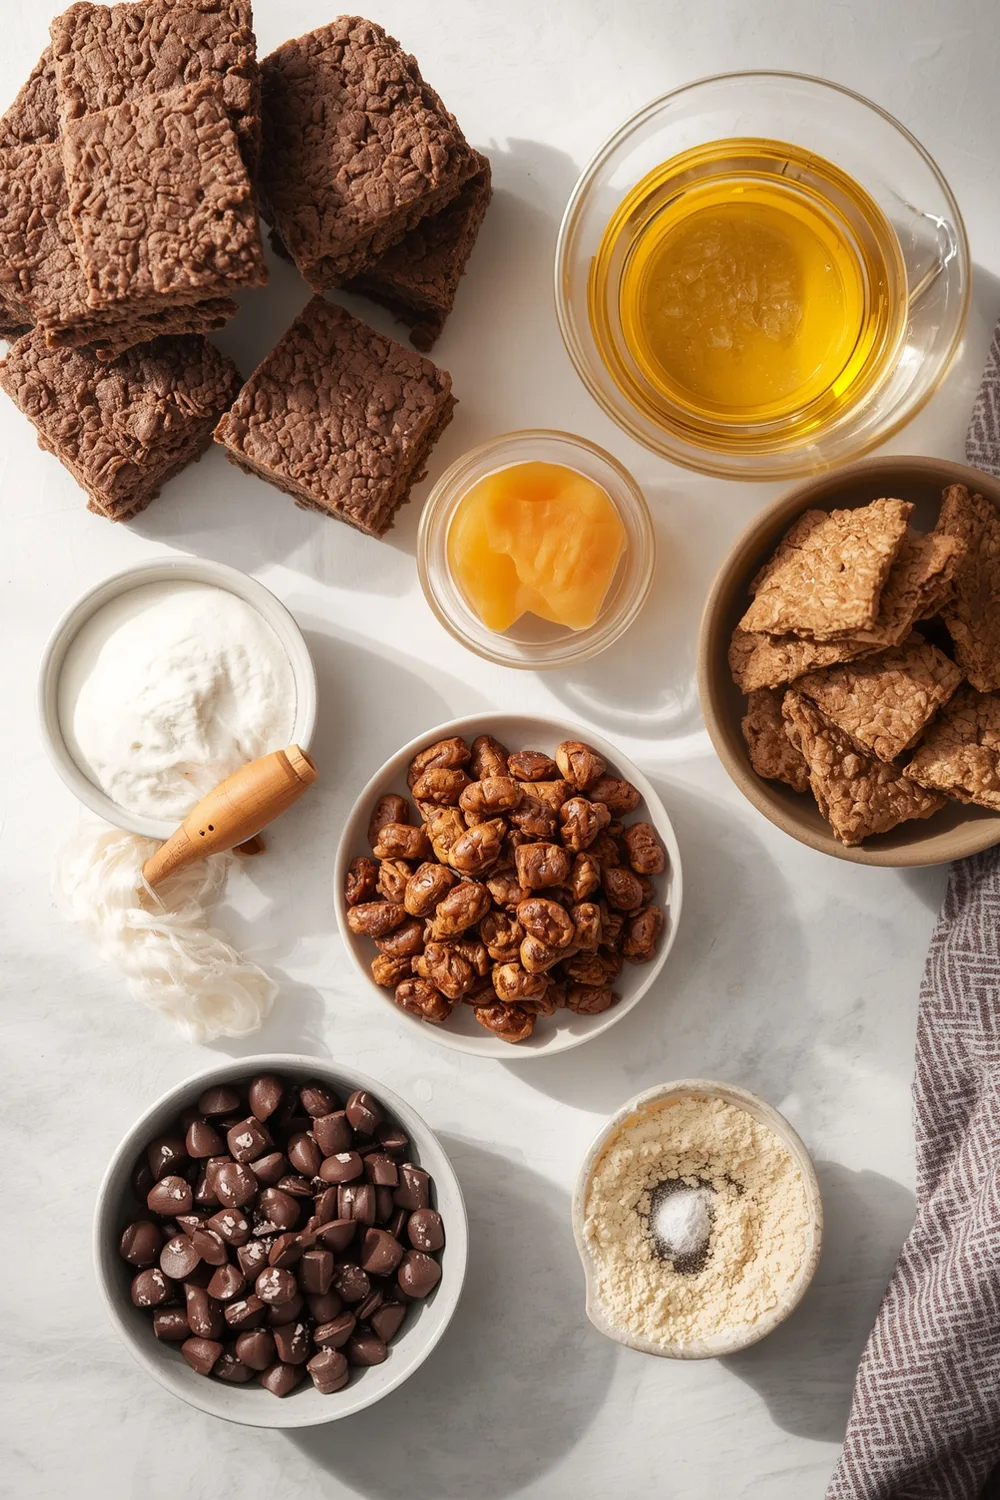
- 4 cups Rice Krispies cereal
- 1 cup semisweet chocolate chips
- 1 cup mini marshmallows
- 1 cup unsweetened cocoa powder
- 6 tablespoons unsalted butter
- 1 teaspoon vanilla extract
- A pinch of salt
Tools Needed
- Large mixing bowl
- Saucepan
- Rubber spatula
- Measuring cups
- Large baking pan (9×13)
- Parchment paper (optional for easy removal)
Suggested Substitutions and Additions
- Use dark chocolate chips for a richer flavor
- Swap mini marshmallows for regular-sized if that’s what you have on hand
- Try adding a sprinkle of sea salt on top for a sweet-salty experience
- Substitute coconut oil for butter for a dairy-free option
- Incorporate crushed nuts for an extra crunch
How to Make Irresistibly Soft Chocolate Rice Krispie Treats
Step 1: Melt the Butter
In a medium saucepan, melt 6 tablespoons of unsalted butter over medium heat. You’ll want to keep stirring until it’s fully melted and begins to bubble just slightly. The warmth of the melting butter fills the kitchen with an inviting aroma!
Step 2: Add Marshmallows
Once the butter melts, add 1 cup of mini marshmallows to the saucepan. Stir continuously until the marshmallows melt and combine with the butter. The mixture should be gooey and smooth, and it will remind you of sweet childhood memories! Remove it from the heat.
Step 3: Mix in Chocolate Chips and Cocoa Powder
Add 1 cup of semisweet chocolate chips, 1 cup of cocoa powder, a pinch of salt, and 1 teaspoon of vanilla extract to the melted marshmallow mixture. Stir until all the ingredients are fully incorporated and you see a rich, chocolatey blend come together. You’ll know it’s perfect when you can’t resist licking the spoon!
Step 4: Combine with Rice Krispies
In a large mixing bowl, pour in the 4 cups of Rice Krispies cereal. Carefully pour your chocolatey marshmallow mixture over the cereal. Using a rubber spatula, fold the chocolate mixture into the cereal gently. Make sure to coat all the crispy rice evenly, so each bite is filled with that irresistible chocolatey goodness.
Step 5: Press the Mixture into the Baking Pan
Line your 9×13 baking pan with parchment paper for easy removal, if you’re using it. Transfer the mixture into the pan and press it down firmly with the spatula or your hands to create an even layer. I always find that the harder you press, the better the treats hold together!
Step 6: Let It Cool and Set
Allow the treats to cool down at room temperature for about 30 minutes. This is the hardest part, as the smell will tempt you to dive in! But trust me, letting them set is worth it. If you’re in a hurry, you can refrigerate them to speed up the process.
Step 7: Cut and Serve
Once set, cut the treats into squares or rectangles using a sharp knife. Serve them to friends, family, or just indulge in a little treat yourself! You can enjoy them as they are or even drizzle some melted chocolate on top for an extra decadent touch.
What to Serve with Irresistibly Soft Chocolate Rice Krispie Treats
These treats pair perfectly with a scoop of vanilla ice cream or a glass of cold milk. Alternatively, why not whip up some hot chocolate for a perfect cozy night in?
Here are some recipes related to Baked style pecan pie oatmeal cookies, Chewy gluten free peanut butter oatmeal cookies, Flourless banana oatmeal muffins, Walnut cinnamon chia oatmeal cake that complement your chocolate rice krispies.
Tips for Making It Perfect
- If you prep the rice crispy mixture ahead of time, it can save you valuable minutes when you’re in a hurry for a sweet treat.
- If your mixture feels too sticky, try using a little extra butter on your hands to help press it into the pan.
- To double the batch for a bigger crowd, simply multiply the ingredient quantities by two and use a larger baking dish.
- Remember, if your treats stick to the pan, give it a quick run under hot water—this will loosen the edges for easier removal.
- For a make-ahead option, these treats store beautifully in an airtight container on the counter for up to five days.
Storage Instructions
To store your Irresistibly Soft Chocolate Rice Krispie Treats, cover them with foil or transfer them to an airtight container at room temperature. They will stay fresh for about 3-5 days. For long-term storage, you can freeze them! Just wrap individual squares in wax paper and place them in a freezer-safe bag. When you’re ready to enjoy them, let them sit at room temperature or microwave for a few seconds to soften.
General Information
Rice Krispie treats have been a beloved dessert for generations. Their origins date back to the 1930s, when the recipe was first published by Kellogg’s. They quickly became a staple for kids’ lunches and parties alike. I remember making them with my mom before family gatherings, and now I carry on that tradition with my kids. There’s a certain comfort in this classic treat that just feels like home.
Frequently Asked Questions
Can I substitute the marshmallows?
Yes! You can use flavored marshmallows or even marshmallow fluff for a different twist on texture and taste.
How long can I store these treats?
These delicious treats can last for about 3-5 days stored at room temperature or can be frozen for up to 2 months.
What can I do if the mixture is too sticky?
If it’s sticky, adding a little more butter or oil to the spatula while mixing and pressing helps to avoid that!
Can I make these treats gluten-free?
Absolutely! Just ensure that you’re using gluten-free Rice Krispies and marshmallows.
How can I make these vegan?
Use a plant-based butter and vegan marshmallows for a delicious vegan version.
Conclusion
These Irresistibly Soft Chocolate Rice Krispie Treats are not only quick and easy to make, but they also evoke lovely memories while creating new ones with loved ones. Their delightful combination of textures and flavors will make them a favorite in your home, just as they are in mine.
Feel free to comment or leave a review about your own experiences with these treats!
If you love cozy recipes like this, subscribe to my email list to stay updated on more deliciousness straight from my kitchen to yours!
Interactive Elements
I invite you to leave a review or comment below and share a photo of your creations on Pinterest. Let’s connect through our shared love for food!
Nutritional Information
Approximate calories and macros per serving:
Calories: 160
Fat: 6g
Carbohydrates: 24g
Protein: 2g
Sugar: 8g
This nutritious information is an estimate and can vary based on specific ingredients used. Adjust according to your preference!
Enjoy every scrumptious bite of these treats—they are here to satisfy and bring joy!

Lydia Madisyn
Lydia Madisyne is a food lover and recipe creator who believes cooking is all about love, comfort, and connection. On poulef.com, she shares wholesome, flavorful dishes and everyday inspiration to make your kitchen a place of joy.

Irresistibly Soft Chocolate Rice Krispie Treats (Quick & Easy)
By Lydia Madisyn
Ingredients
Instructions
Save & Follow ❤️
PoulefRecipes : Easy recipes - Dinner ideas & More
Save to Pinterest Follow Account