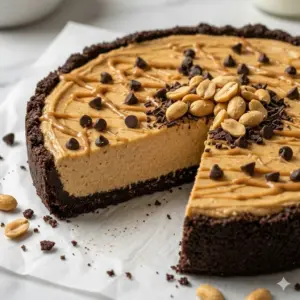


Thanks so much for being here! I’m so excited to share this recipe for Ultimate Easter Nest Cookies with you today. There’s something undeniably cheerful about Easter — the blooms, the colors, and of course, the sweets. These cookies are a celebration of that vibe, combining crispy edges with a chewy inner texture, all adorned with candy eggs that mimic little nests. They’re not just delicious; they’re a feast for the eyes!
Every time I prepare these cookies, memories flood back of Easter gatherings. I can almost hear the laughter of my family as we hunted for hidden eggs and the smell of fresh coffee wafting through the kitchen. The joy on everyone’s faces when biting into these cookies, a delightful blend of flavors and textures, reminds me why we gather each spring.
If you love cozy recipes like this, subscribe to my email list!
Overview of Recipe Content
These Ultimate Easter Nest Cookies are perfect for spring festivities! They’re sweet enough to satisfy your cravings but also fun and festive, making them a great treat for Easter brunch, picnics, or even just sharing with neighbors. You’ve got a base that’s fluffy and buttery, mixed with chocolate chips, and then topped off with those adorable candy eggs. The balance of sweetness from the candy and the rich texture of the cookie makes these not just a treat but a celebration in every bite.
I’m also thrilled to add that there’s a hint of nostalgia here — the excitement of crafting something beautiful to share brings warmth to any kitchen.
Ingredients
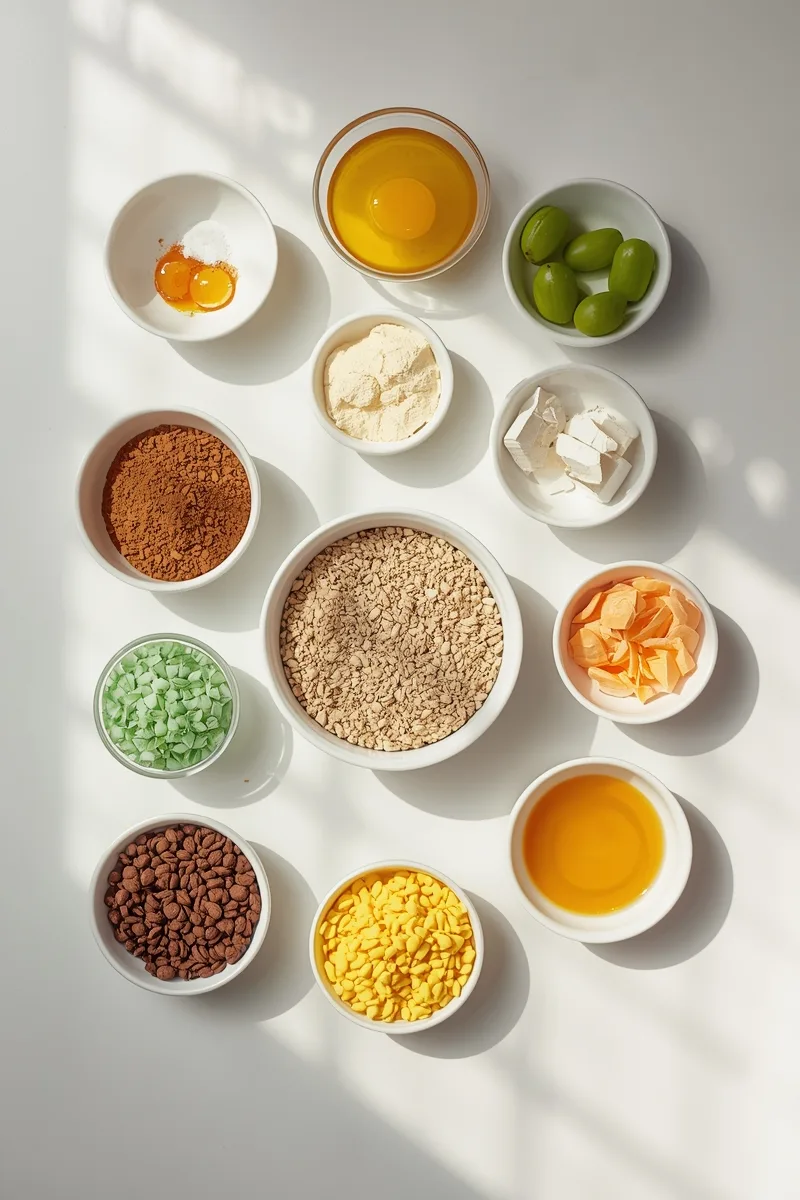
To create these blissful beauties, you’ll need the following ingredients:
- 1 cup unsalted butter, softened
- 1 cup granulated sugar
- 1 cup brown sugar, packed
- 2 large eggs
- 1 teaspoon vanilla extract
- 3 cups all-purpose flour
- 1 teaspoon baking soda
- ½ teaspoon salt
- 2 cups chocolate chips
- 1 cup shredded coconut (optional)
- Candy eggs for decoration (like chocolate or jelly beans)
Tools Needed
Having the right tools makes cooking a breeze! Here’s what you’ll need:
- Mixing bowl
- Electric mixer
- Measuring cups and spoons
- Baking sheets
- Parchment paper
- Cookie scoop or spoon
- Wire rack
Suggested Substitutions and Additions
Cooking is all about creativity! If you don’t have something on hand or just want to switch things up, here are some fantastic substitutions and fun additions:
- Instead of butter, substitute with coconut oil for a tropical twist.
- For a healthier cookie, swap half of the all-purpose flour for whole wheat flour.
- Try adding a teaspoon of almond extract for an extra flavor dimension.
- If you want crunch, toss in chopped nuts or even dried cranberries for a delightful contrast.
Ingredient Substitutions & Variations
Exciting, right? Let’s explore some more specific swaps:
- **Dairy Free Swaps**: Use a dairy-free butter or coconut oil in place of regular butter.
- **Gluten Free Swaps**: Opt for a cup-for-cup gluten-free flour blend.
- **Flavor upgrades**: Add a sprinkle of cinnamon or nutmeg for a warm, spiced flavor.
- **Extra add-ins**: Try mini marshmallows or dried fruit for a fun surprise in your cookies!
How to Make Easter Nest Cookies Delight
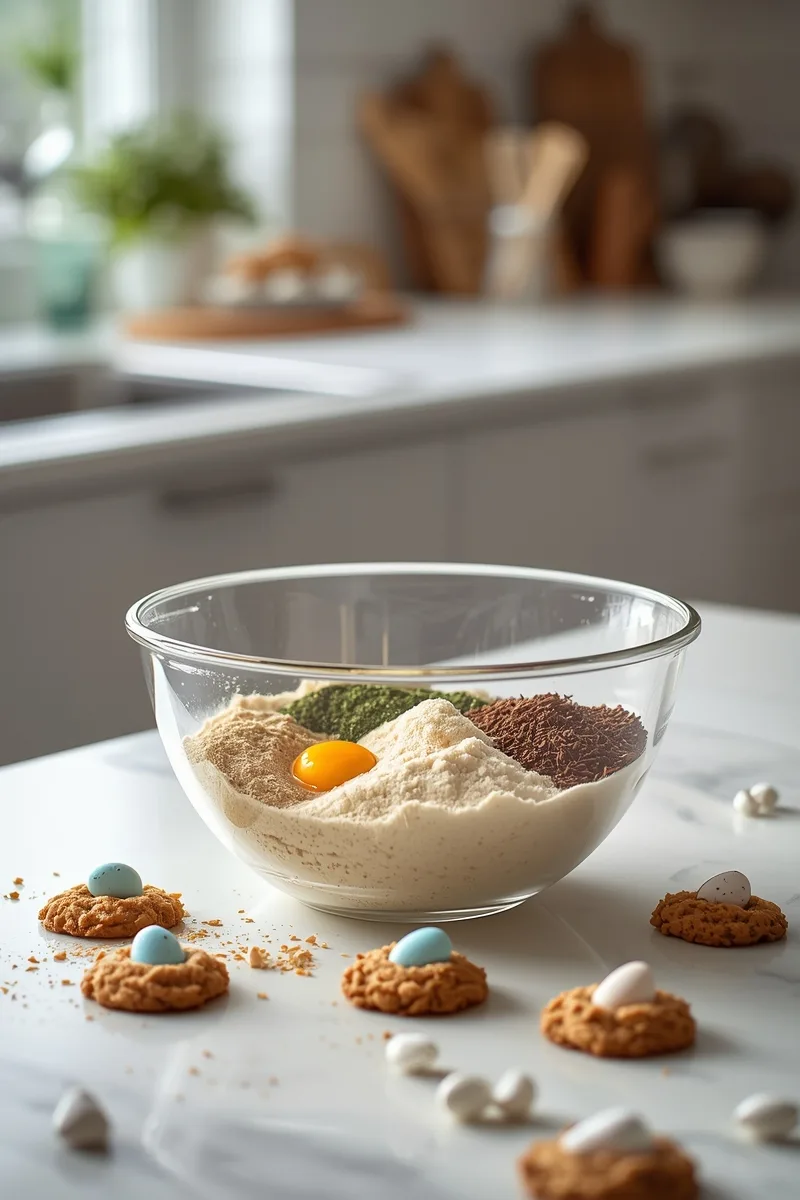
Now, let’s get down to the best part — making the cookies! Follow these easy steps, and soon you’ll have a batch that will wow everyone.
Step 1: Cream the Butters and Sugars
In a mixing bowl, combine the softened unsalted butter, granulated sugar, and brown sugar. With an electric mixer, beat these together on medium speed until the mixture is light and fluffy. You’ll know it’s ready when it looks creamy and you can smell the sweet butter aroma wafting through your kitchen.
Step 2: Add Eggs and Vanilla
Next, crack in the eggs, one at a time, mixing well after each addition. Then, drizzle in the vanilla extract. (Side note: the scent of vanilla always gives me a warm nostalgia because it reminds me of baking with my grandma when I was little.)
Step 3: Combine Dry Ingredients
In a separate bowl, whisk together the all-purpose flour, baking soda, and salt. Slowly add this to the wet mixture a little at a time while mixing on low speed. The dough will start to come together and will feel a little bit like a snug blanket as you work it.
Step 4: Fold in Chocolate Chips and Coconut
Once your dough is combined, gently fold in the chocolate chips (and shredded coconut if using). The cookie dough should look rich and studded with chocolate. My kitchen is alive with the sweet smell of chocolate at this point, and trust me, it just invites you to sneak a taste!
Step 5: Scoop and Shape Cookies
Preheat your oven to 350°F (175°C). Line baking sheets with parchment paper. Use a cookie scoop or spoon to drop generous rounds of dough onto the baking sheets, spacing them about two inches apart.
Step 6: Bake
Place your baking sheets in the oven and forget about them for about 12-15 minutes. You’ll know they’re ready when the edges are turning golden brown while the centers look just a tad underdone — ah, the perfect cookie texture!
Step 7: Cool and Decorate
Let the cookies cool on the baking sheets for a few minutes before transferring them to a wire rack. Once they’re completely cooled, let the decorating begin! Gently press a few candy eggs on each cookie, placing them right in the center to create that delightful “nest” look.
What to Serve with Easter Nest Cookies Delight
Pair these cookies with a sweet brunch spread! Some lovely complementary dishes include:
- Fluffy pancakes or waffles topped with fresh berries
- A light fruit salad drizzled with honey
- A cup of fresh brewed coffee or, for something fun, a creamy hot chocolate
And for those interested in some more desserts to share with family, don’t forget to check out my irresistible Gooey chocolate chip cookie pie or Classic peppermint brownies.
Tips for Making It Perfect

Here are some tried-and-true tips to ensure your cookies turn out perfect every single time:
- Prepare your ingredients in advance to keep the process streamlined.
- If your cookies spread too much, try chilling the dough for 30 minutes before baking.
- Don’t skip the cooling time! The texture improves as they rest.
- If you want to make more cookies, this recipe doubles easily.
Storage Instructions
To keep your cookies fresh, store them in an airtight container at room temperature for up to five days. For longer storage, pop them in the freezer in a sealed bag for up to three months. Just make sure to thaw before enjoying for the best texture!
Common Mistakes to Avoid
Here are a few pitfalls to avoid on your cookie-making journey:
- Overmixing the dough can lead to tougher cookies, so mix just until combined.
- Using too much liquid will yield flat cookies, so pack your measurements accurately.
- Don’t skip the cooling period on the baking sheets; it helps firm up the cookie.
General Information
While the origins of nest cookies are often associated with Easter, these delightful confections have captured hearts year-round. It’s incredible how food ties into our celebrations, serving as a bridge connecting generations and memories shared around the table. I remember making these cookies with my kids, who would giggle as they piled on the candy eggs. It was such a sweet moment of love I hold dear.
Cooking Summary
- Prep Time: 15 minutes
- Cook Time: 12 minutes
- Total Time: 27 minutes
- Yield: 24 cookies
- Category: Dessert
- Method: Baking
- Cuisine: American
- Diet: Vegetarian
Frequently Asked Questions
Can I swap regular chocolate chips for white chocolate chips?
Absolutely! White chocolate chips provide a lovely and sweet alternative.
How do I store leftover cookies?
Keep them in an airtight container at room temperature for up to five days, or freeze them for longer.
What if my cookies are too chewy?
They may have been underbaked. Adjust your baking time slightly for the next batch.
Conclusion
These Ultimate Easter Nest Cookies are more than a recipe; they are a celebration of spring, family, and everything joyful about the Easter season. Whether you make them for a gathering or just to enjoy on the couch with a cup of coffee, they’re definitely worth trying this holiday season!
I hope you find joy in making and sharing these delicious treats. They’ve become a staple in my kitchen, and I’m certain they’ll work their magic for you too.
Interactive Elements
I’d love to hear your thoughts! Leave a review or comment below, and if you try making the cookies, share a photo on Pinterest.
Nutritional Information
Here’s a rough estimate of the nutritional info per cookie:
| Calories | Protein | Carbs | Fat |
|———-|———|——-|—–|
| 120 | 2g | 18g | 5g |
Thank you for joining me today! May your kitchen be filled with warmth and delightful aromas as you bring these cookies to life! Happy baking!

Gianna Poulef
I’m Gianna Poulef from Poulef Recipes. I love sharing perfected dishes from my kitchen. I’m sure they’ll earn a spot in your heart. Let’s savor this journey together!.
Let’s be friends!

Irresistible Ultimate Easter Nest Cookies Recipe for 24 Treats
By Gianna Poulef
Ingredients
Instructions
Save & Follow ❤️
PoulefRecipes : Easy recipes - Dinner ideas & More
Save to Pinterest Follow Account