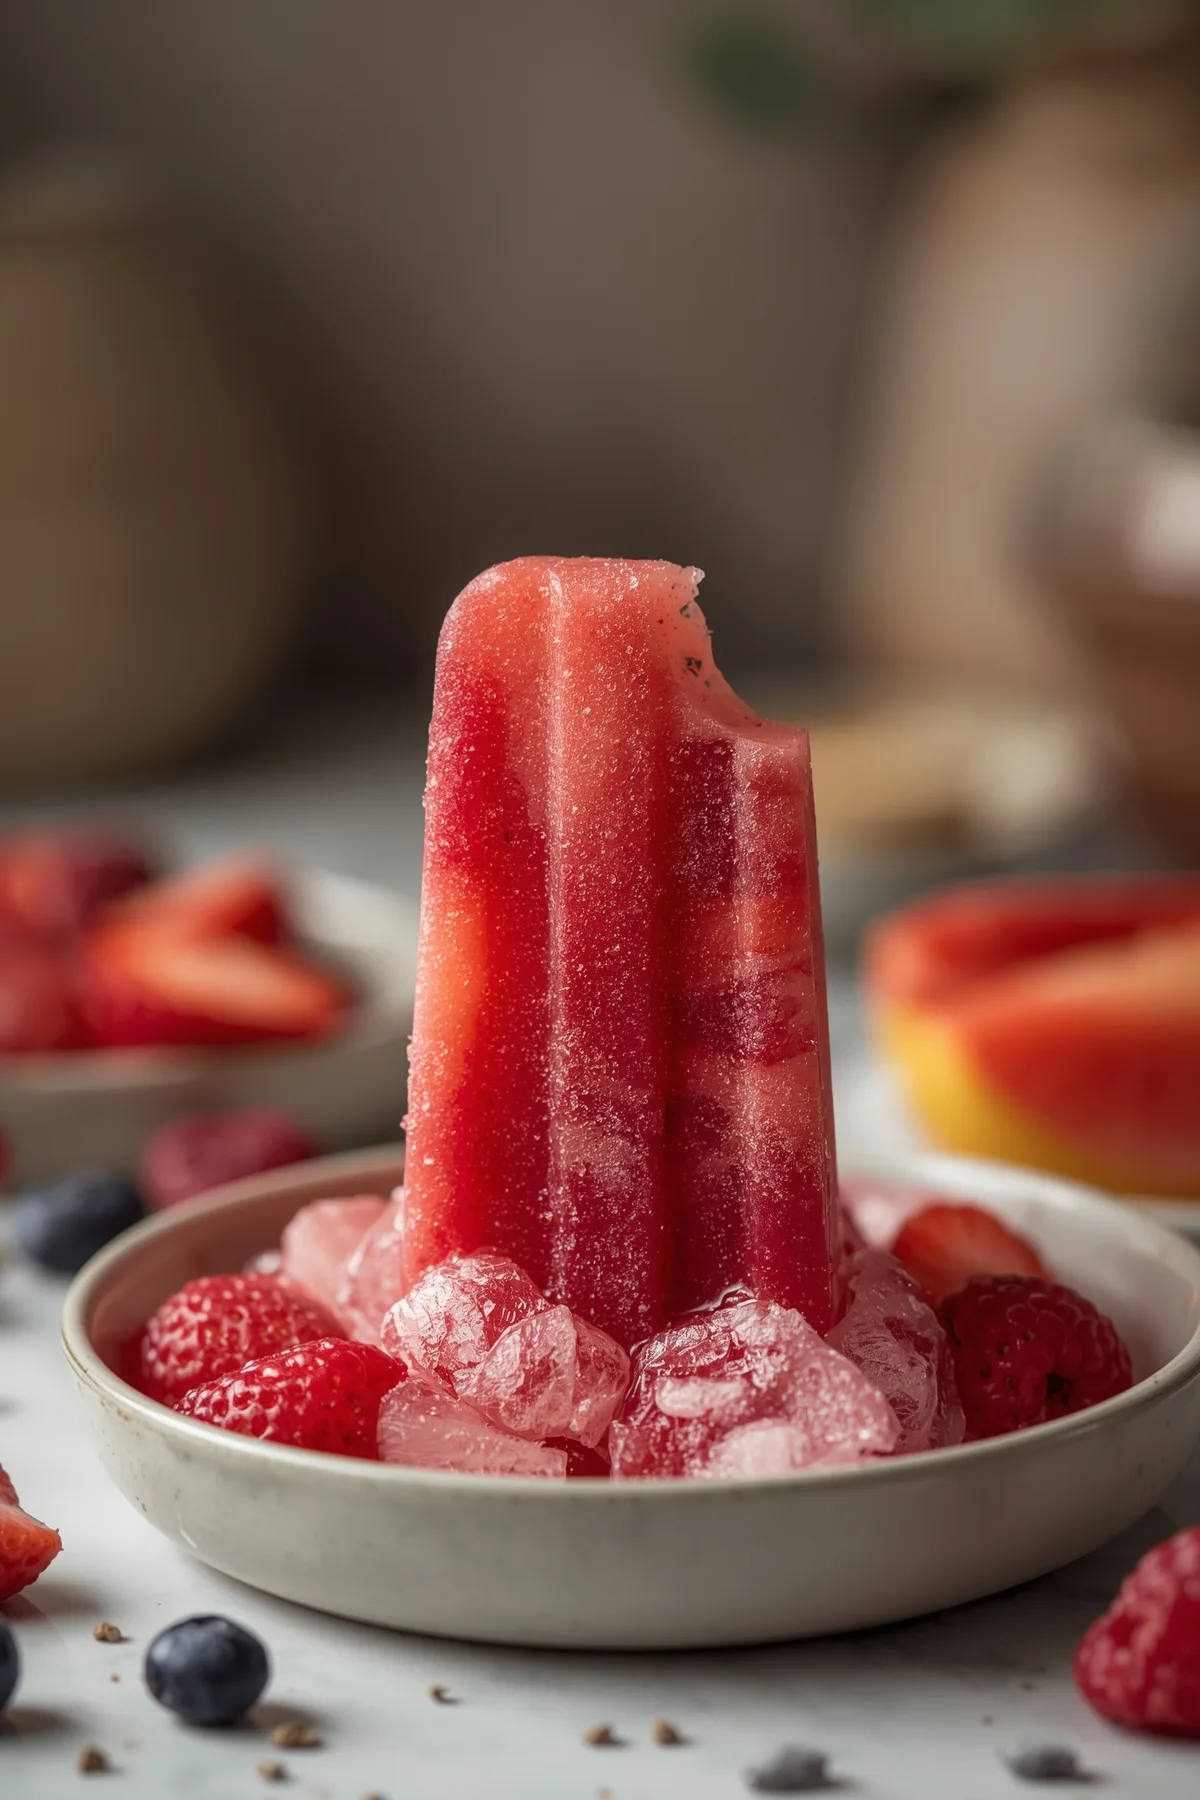
Thanks so much for being here! I’m so excited to share this recipe for Irresistible Fruit Popsicles – Easy & Healthy Homemade Treats! These vibrant, fruity frozen delights have a special place in my heart. Whenever summer rolls around, I can’t help but whip up batch after batch. It’s the perfect way to keep cool while treating myself and my family to something delicious yet wholesome.
There’s something incredibly satisfying about making popsicles from ripe, juicy fruit bursting with flavor. You get to control what goes in—no artificial flavors or preservatives, just pure goodness. Plus, they’re a fantastic way to sneak in a serving (or two) of fruit to the kids or anyone who claims they don’t like it!
If you love cozy recipes like this, subscribe to my email list!
Overview of Recipe Content
These Irresistible Fruit Popsicles are all about enjoying the essence of summer. Full of fresh fruit, they pack a refreshing punch that’s perfect for a hot day. Each bite offers a delightful balance of sweetness and natural acidity that dances on the palate, while the texture is smooth yet satisfying. They’re not just a treat; they’re a nostalgic experience that takes me back to days spent in my grandmother’s backyard, enjoying homemade frozen treats on a hot afternoon.
You can serve these popsicles at birthday parties, family gatherings, or whenever you’re craving something sweet and healthy. The best part? You can customize them to fit whatever fruits you have on hand, making them a year-round favorite! And let’s not forget the nutritional benefits; these popsicles are low in sugar and can easily accommodate dietary restrictions.
Ingredients

Here’s what you’ll need to make these refreshing popsicles:
- 2 cups fresh fruit (strawberries, mango, peaches, or your favorite fruit)
- 1 cup coconut water or fruit juice (like orange or apple)
- 1-2 tablespoons honey or maple syrup (optional, depending on fruit sweetness)
- A splash of lemon or lime juice (to enhance flavor)
- Fresh mint leaves (for garnish, optional)
Tools Needed
To get started, gather these kitchen essentials:
- Blender or food processor
- Popsicle molds
- Sticks (if your molds don’t come with them)
- Cutting board and knife
- Measuring cups and spoons
Suggested Substitutions and Additions
- Instead of coconut water, try using yogurt for a creamier texture.
- Swap out the fruit juice for herbal tea for a unique flavor twist.
- Add a tablespoon of chia seeds for extra fiber and nutrients.
- Sprinkle in some granola or shredded coconut before freezing for a fun texture.
Ingredient Substitutions & Variations
Let’s talk options! Here are some swaps and variations to fit your preferences:
- **Dairy-free swaps**: Use plant-based yogurt or simply stick to fruit and juice.
- **Gluten-free swaps**: No need for substitutions here, as these popsicles are naturally gluten-free!
- **Flavor upgrades**: Incorporate frozen berries, bananas, or avocados for creamy richness.
- **Extra add-ins**: Feel free to fold in some superfoods like spirulina or acai powder for an antioxidant boost.
How to Make Healthy Fruit Popsicles Recipe
Making these fruit popsicles is a breeze. Get ready for some delicious, fruity fun!
Step 1: Prepare Your Fruit
Start by washing and cutting your chosen fruit into smaller pieces. If you’re using berries, there’s no need to cut them. If you’re going with stone fruits like peaches, pit them and slice them up. You want to use ripe fruit for maximum sweetness. Trust me, taste a piece before you blend!
Step 2: Blend It All Together
In your blender, add the fruit, coconut water (or juice), sweetener if using, and lemon juice. Blend until smooth and well combined. You’ll know it’s ready when you see that beautiful, vibrant color and it’s creamy without any chunks. Feel free to taste it here—add a bit more sweetener if you like!
Step 3: Pour Into Molds
Carefully pour the mixture into your popsicle molds. If you have leftover fruit pieces, you can layer them in the molds for a beautiful effect. I love seeing those little specks of color! Pop in the sticks if your molds require them.
Step 4: Freeze and Enjoy!
Put your molds in the freezer and let them chill for at least 4-6 hours, or until completely frozen. You’ll know they’re ready when you can confidently pull one out without it falling apart—like holding onto the joy of summer itself.
Now, when you’re ready to dig in, run the molds under warm water for a few seconds to help release the popsicles. They should slide right out, ready for you to enjoy!

What to Serve with Healthy Fruit Popsicles Recipe
These popsicles are delightful on their own, but they pair beautifully with lots of treats. Consider serving them alongside:
- A light summer salad
- Homemade granola bars for an afternoon snack
- A refreshing cold brew or herbal iced tea
If you’re in the mood for some baked goodies after your pops, you might want to check out my Banana Fruit Sticky Loaf or Fruit Cake Loaf for a delightful combo!
Tips for Making It Perfect

Here are my tried-and-true tips for making these popsicles turn out perfectly every time:
- **Prepare your ingredients in advance**: Chop up the fruit the night before to save time.
- **Fixing common mistakes**: If the mixture is too runny, just blend in a banana or add more fruit. If it’s too thick, thin with some coconut water or juice.
- **Double the recipe**: You’ll thank yourself later! These pops disappear quickly, especially with kids around.
- **Make-ahead tips**: You can keep these in the freezer for several weeks—just don’t be surprised if they’re gone sooner!
Storage Instructions
If you have any leftovers (unlikely, if you’re like me), store the popsicles in an airtight container in the freezer. They’ll keep well for up to 3 months, but I guarantee you’ll devour them long before that!
Common Mistakes to Avoid
- Overfilling the molds can lead to messy spills in the freezer.
- Not letting them freeze long enough results in slushy pops that won’t hold their shape.
- Using overly ripe fruit might make them too sweet, so balance is key!
General Information
My love for popsicles started when I was a kid in my grandmother’s kitchen. We would blend whatever fruit we had on hand and pour it into ice molds—sometimes they would taste amazing, and sometimes, well, let’s just say they weren’t chef-approved. It’s that spirit of experimentation that brings me joy in my own kitchen now.
Cooking Summary
- Prep Time: 15 minutes
- Cook Time: 0 minutes (just freeze!)
- Total Time: 4-6 hours
- Yield: 8-10 popsicles
- Category: Dessert
- Method: Freezing
- Cuisine: American
- Diet: Vegan
Frequently Asked Questions
- **Can I use frozen fruit instead of fresh?**
Absolutely! Just thaw them a bit before blending for a smoother consistency.
- **How long do these popsicles last in the freezer?**
They can stay fresh for up to 3 months if stored properly!
- **What if my popsicles are too icy?**
A little space in the blender and some extra coconut water can help make them creamy.
Conclusion
These Irresistible Fruit Popsicles are not only easy to make; they are a sweet way to embrace the deliciousness of summertime with a healthy twist. You’ll love the burst of flavor that comes with every bite, and your loved ones will be asking for seconds (or thirds!).
Now go ahead and make a batch this week—trust me, it’s worth it!
Don’t forget to leave a review or comment about your experience! And if you’re on Pinterest, share a photo of your popsicles on Pinterest; I would love to see your creations!
Nutritional Information
Approximate calories and macros per serving:
| Nutrient | Per Serving |
|——————-|—————-|
| Calories | 50 |
| Total Fat | 0g |
| Saturated Fat | 0g |
| Carbohydrates | 13g |
| Fiber | 1g |
| Sugars | 9g |
| Protein | 0g |
So, go out there and create your own fruity masterpiece! Happy cooking!

Gianna Poulef
I’m Gianna Poulef from Poulef Recipes. I love sharing perfected dishes from my kitchen. I’m sure they’ll earn a spot in your heart. Let’s savor this journey together!.
Let’s be friends!

Irresistible Fruit Popsicles: Easy & Healthy Homemade Treats
By Gianna Poulef
Ingredients
Instructions
Save & Follow ❤️
PoulefRecipes : Easy recipes - Dinner ideas & More
Save to Pinterest Follow Account