

Thanks so much for being here! I’m so excited to share this recipe for Irresistible Hawaiian Roll Sliders with you today. There’s something wonderfully nostalgic about pulling apart those soft, sweet rolls, each one filled with juicy flavors and gooey cheese. These sliders have been a staple in my kitchen for family gatherings, game nights, and even just a cozy day in. They’re seriously easy to whip up, and trust me, everyone will love them!
Overview of Recipe Content
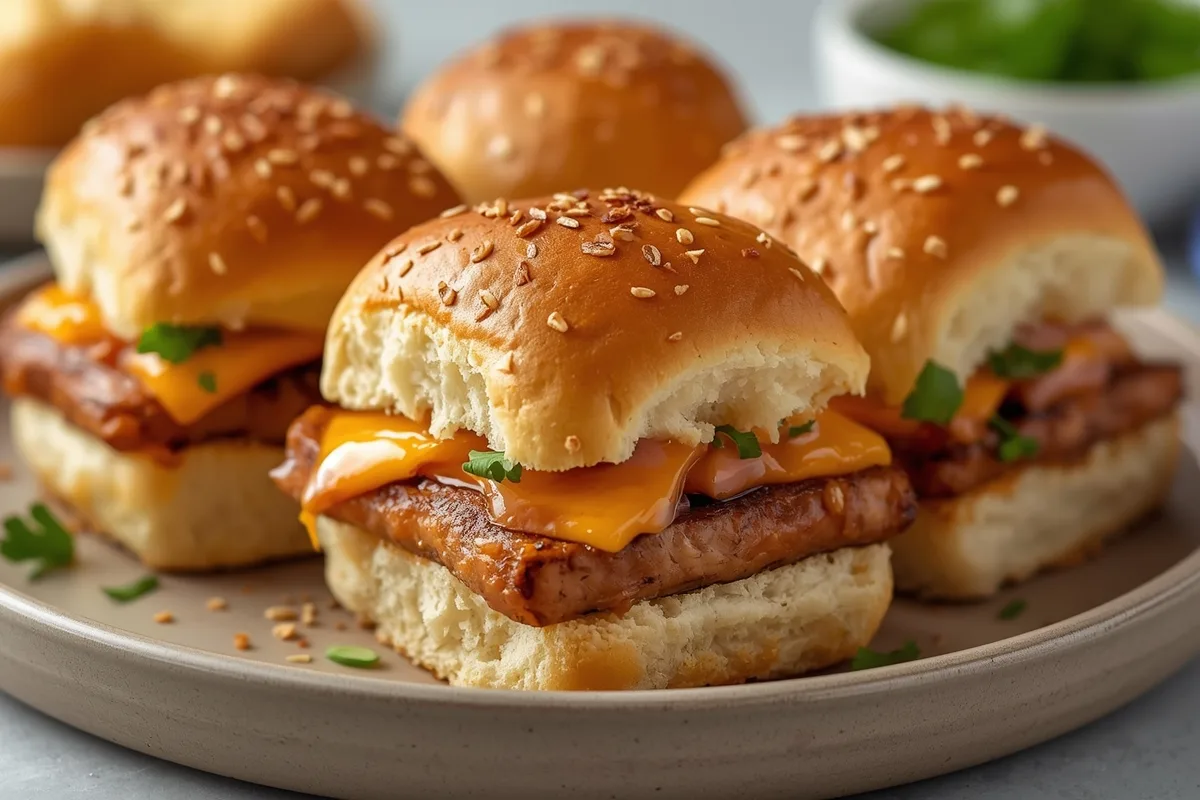
These Hawaiian Roll Sliders are made with tender rolls stuffed with a mouthwatering mix of savory ingredients. Picture soft, fluffy rolls, perfectly baked and crisped at the edges, with a delicious blend of meats, melted cheese, and a zesty sauce. They’re great for parties, casual gatherings, or even just a delightful weeknight dinner. You’ll find they’re sweet and savory all at once, leaving everyone craving just one more.
Plus, during the warmer months, these sliders are such a hit for cookouts. They balance beautifully with fresh sides like coleslaw or fruit salad, making them a hit in any season!
Ingredients
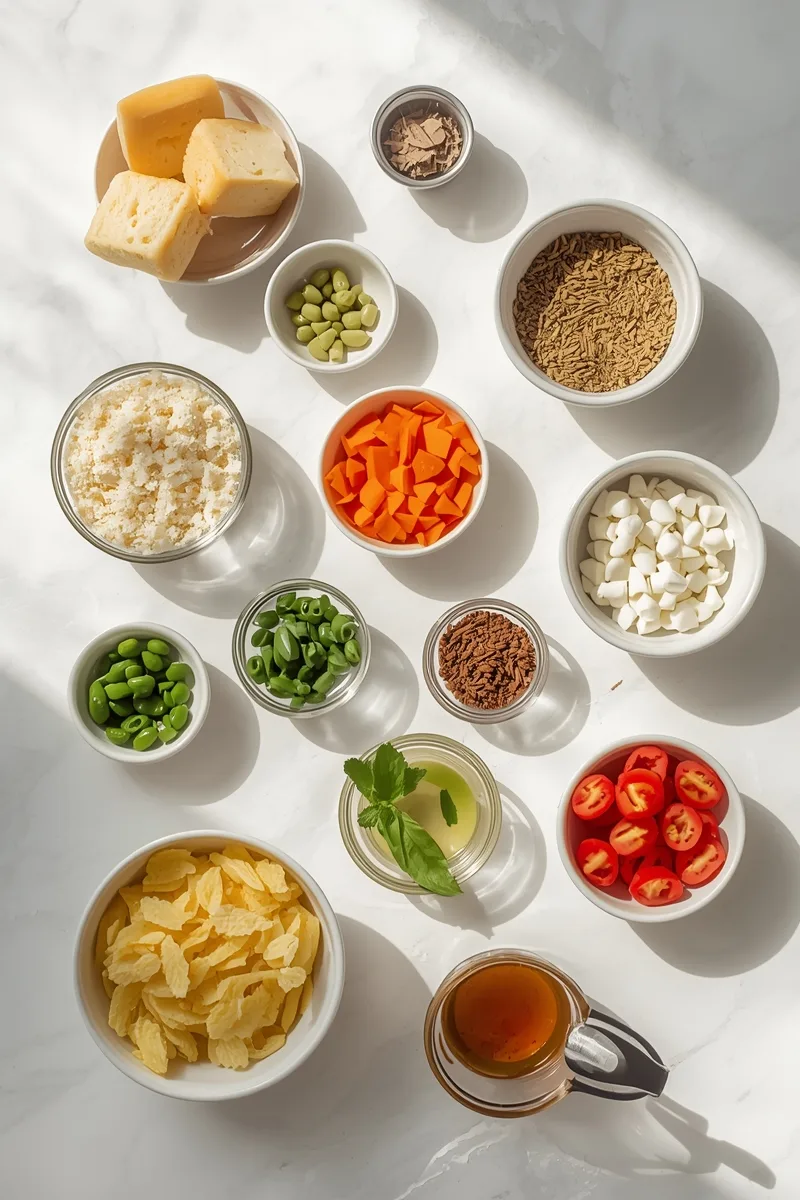
- 12 Hawaiian rolls
- 1 pound deli ham (or turkey, if preferred)
- 1 pound sliced cheese (Swiss, cheddar, or your choice)
- 1/2 cup unsalted butter, melted
- 1 tablespoon Dijon mustard
- 1 tablespoon poppy seeds (optional)
- 1 tablespoon brown sugar
- 1 teaspoon garlic powder
- 1 teaspoon onion powder
- Salt and pepper to taste
Tools Needed
Suggested Substitutions and Additions
Feel free to mix and match based on your preferences and pantry! Here are a few ideas:
- Use different meats: Turkey, roast beef, or even a veggie patty for a delightful twist.
- Add toppings like jalapeños for heat, or bell peppers for sweetness.
- Swap cheeses: Pepper jack or provolone can add a unique flavor!
- Make it sweet: Try adding pineapple slices for that tropical flair!
Ingredient Substitutions & Variations
- Dairy-Free Swaps: Use non-dairy cheese and vegan butter to make this a dairy-free dish.
- Gluten-Free Swaps: Use gluten-free rolls for those avoiding gluten—Amazon has great options!
- Flavor Upgrades: Consider adding a dash of hot sauce or sriracha to your melted butter mix for a spicy kick.
- Extra Add-Ins: Throw in some cooked bacon bits and fresh herbs like parsley for an extra touch of flavor.
How to Make Irresistible Hawaiian Roll Sliders
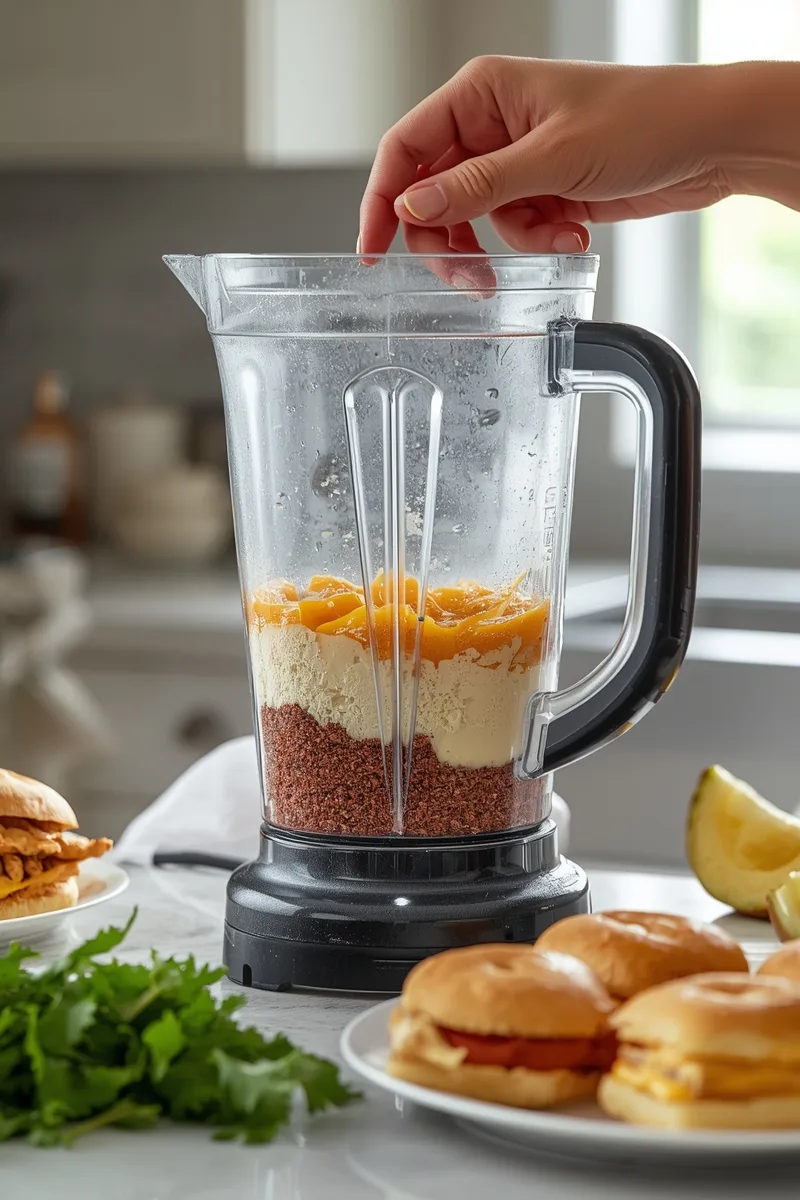
Step 1: Preheat Your Oven
To start, preheat your oven to 350°F (175°C). This is important so the sliders can achieve that perfect golden crispiness.
Step 2: Prepare Your Rolls
Carefully slice the Hawaiian rolls in half, keeping the top and bottom halves together. You can use a sharp knife for clean cuts, and to make it easier, don’t forget to work slowly. Lay the bottom half in your greased 9×13-inch baking dish.
Step 3: Layer the Goodies
Layer the deli meats on the bottom half of the rolls, followed by a generous layer of cheese. Next, replace the top of the rolls gently on top.
Step 4: Create the Delicious Sauce
In a small mixing bowl, whisk together the melted butter, Dijon mustard, poppy seeds, brown sugar, garlic powder, onion powder, and a pinch of salt and pepper. The aroma of Dijon and garlic hits different when you mix them together. Trust me, this step makes all the difference!
Step 5: Drizzle and Bake
Pour the sauce evenly over the top of the rolls, letting it soak in. Then cover the baking dish with aluminum foil and pop it in the oven for about 15 minutes. After that, remove the foil and bake for an additional 10-15 minutes or until the tops are beautifully golden brown. You’ll know it’s ready when the aroma fills your kitchen, and the edges start to crisp up.
What to Serve with Irresistible Hawaiian Roll Sliders
These sliders are divine on their own, but to round out the spread, consider pairing them with:
- A fresh garden salad drizzled with balsamic vinaigrette
- Crispy sweet potato fries to add that perfect crunch
- A creamy coleslaw; the tanginess beautifully balances the sliders
And for a little sweetness afterward, you can’t go wrong with a slice of homemade dessert! Maybe something like Moist Chocolate Cake or Classic Peppermint Brownies.
Tips for Making It Perfect
- Prepare ingredients in advance: Slice your rolls, meats, and cheeses the night before to make assembly a breeze.
- Fix common mistakes: If your sliders come out too soggy, try using less butter or keeping a close eye on baking time.
- Doubling the recipe is easy: Simply stack another layer of ingredients and bake in a larger dish.
- Make-ahead tips: You can assemble the sliders earlier in the day, just wait to bake them until about 30 minutes before serving for that fresh-out-of-the-oven taste.
Storage Instructions
If by chance you have leftovers (which is rare because they disappear quickly!), it’s easy to store.
- To store: Seal them in an airtight container in the fridge for up to 3 days.
- To freeze: Wrap tightly with plastic wrap, then aluminum foil, and freeze for up to 2 months—perfect for meal prep!
- To reheat: warm up in the oven at 350°F (175°C) for 10-15 minutes, uncovered, or until heated through.
Common Mistakes to Avoid
- Overcooking: The last thing you want is dry sliders! Keep a careful eye on the baking time.
- Using too much liquid: A too-soggy mix will lead to sliders that fall apart. Balance is key!
- Skipping the resting time: Letting them sit for a few minutes allows the flavors to marry and makes for easier serving.
General Information
These sliders aren’t just about wonderful flavors; they also come with a sprinkle of nostalgia. I fondly remember gatherings with my family, where these little bites would vanish like magic. Their humble origins, often tied to barbecues and family potlucks, remind me of the simple joys in life—like sharing stories and laughter over good food.
Cooking Summary
Prep Time: 15 minutes
Cook Time: 25 minutes
Total Time: 40 minutes
Yield: 12 sliders
Category: Appetizers
Method: Baking
Cuisine: American
Diet: Omnivore
Frequently Asked Questions
Can I use a different type of roll?
Absolutely! You can swap Hawaiian rolls for any sweet dinner rolls or slider buns you like.
How long can I store leftovers?
Leftovers are good in the fridge for about 3 days.
What if my sliders are too dry?
Ensure an even distribution of butter and sauce above the rolls, so each bit is soaked adequately.
Conclusion
Trust me, you’ll want to make these Irresistible Hawaiian Roll Sliders again and again. They’re easy, delicious, and perfect for any occasion! So gather your loved ones, whip up a tray of these delightful bites, and watch them disappear.
I hope you enjoy every gooey, cheesy bite as much as I do. It’s these simple recipes that bring people together, creating delicious memories.
Interactive Elements
I’d love to hear from you! Leave a review or comment to share how your sliders turned out!
And don’t forget to share a photo of your sliders on Pinterest!
Nutritional Information
| Nutritional Information per Slider |
|———————————–|
| Calories: 220 |
| Total Fat: 12g |
| Carbohydrates: 23g |
| Protein: 10g |
| Sugar: 4g |
| Fiber: 1g |
And that’s it! I hope you find joy in making these sliders whether it’s for a gathering or a cozy night in. Happy cooking!

Lydia Madisyn
Lydia Madisyne is a food lover and recipe creator who believes cooking is all about love, comfort, and connection. On poulef.com, she shares wholesome, flavorful dishes and everyday inspiration to make your kitchen a place of joy.

Irresistible Easy Hawaiian Roll Sliders Recipe for 12 Servings
By Lydia Madisyn
Ingredients
Instructions
Save & Follow ❤️
PoulefRecipes : Easy recipes - Dinner ideas & More
Save to Pinterest Follow Account