

Thanks so much for being here! I’m genuinely excited to share a recipe that’s taken me years to perfect — the Irresistible Easter Dirt Cake. Incidentally, it’s a quick, easy, and totally no-bake dessert that kids absolutely adore! Let me tell you, if you want something that captures the essence of spring while indulging your sweet tooth, then this is the recipe you need in your life.
For me, Easter has always been a time for family gatherings and celebration, filled with laughter, colorful eggs, and an array of delightful desserts. This Dirt Cake fits so beautifully in that tradition, with its creamy layers and rich chocolatey goodness. I still recall the first time I made it for my little nieces — their eyes lit up when they realized they were allowed to dig in themselves! It’s a delightful dessert that tastes as good as it looks, and honestly, it brings back all those heartwarming memories.
If you love cozy recipes like this, subscribe to my email list!
Overview of Recipe Content
So, what exactly is this Easter Dirt Cake? Simply put, it’s a layered dessert that combines chocolate pudding, whipped cream, and crushed Oreos to create a delightful cake that looks like dirt — hence the name! Served in a fun flower pot or cup, it’s perfect for Easter brunch or an afternoon gathering. Kids and adults alike savor every spoonful, enjoying the smooth, creamy texture paired with the crunchy, chocolatey layers. What’s not to love about that?
Plus, with the fresh smell of spring wafting through the air, this cake perfectly aligns with the cheerful spirit of the season. You can add little candy eggs on top to make it even more festive. It’s not just a treat for the taste buds; it’s a feast for the eyes too!
Ingredients
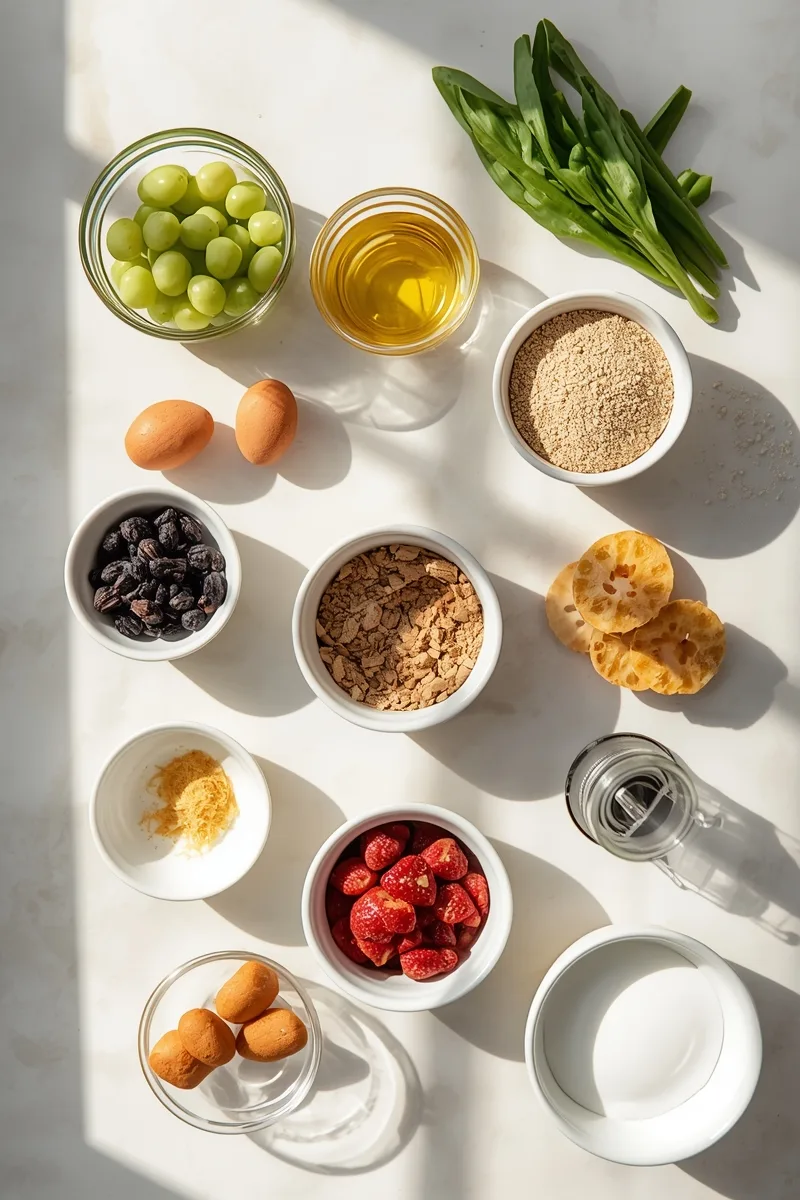
Here’s what you’ll need to throw together this gorgeous Dirt Cake:
- 1 package (15.25 ounces) Oreo cookies
- 1/2 cup (1 stick) unsalted butter, melted
- 1 package (8 ounces) cream cheese, softened
- 1 cup powdered sugar
- 1 container (12 ounces) cool whip (thawed)
- 1 package (3.9 ounces) chocolate instant pudding mix
- 2 cups milk
- Gummy worms and edible flowers for garnish (optional)
Tools Needed
Before you start, make sure you have these handy tools:
- Mixing bowls
- Electric mixer (optional, but makes it so much easier)
- Rubber spatula
- Food processor (or resealable bag + rolling pin)
- 9×9 inch baking dish or flower pots for serving
Suggested Substitutions and Additions
If you’re feeling adventurous or need to cater to different tastes, here are a few suggestions that could elevate your Dirt Cake experience:
- Swap Oreos for another type of chocolate cookie, like Chocolate Thins, for a unique twist.
- Try using a flavored pudding instead of chocolate — vanilla or butterscotch can be fab!
- Add a layer of fresh fruit, like raspberries or strawberries, to introduce a pop of color and freshness.
Ingredient Substitutions & Variations
- Dairy Free Swaps: Use dairy-free cream cheese and whip, along with any dairy-free cookies for a delightful twist.
- Gluten Free Swaps: Opt for gluten-free chocolate cookies to make this dish accessible for everyone.
- Flavor Upgrades: A splash of vanilla extract in your cream cheese mixture can work wonders!
- Extra Add-ins: For crunch, consider tossing in some chopped nuts or chocolate chips in between layers.
How to Make Easy Easter Dirt Cake Delight
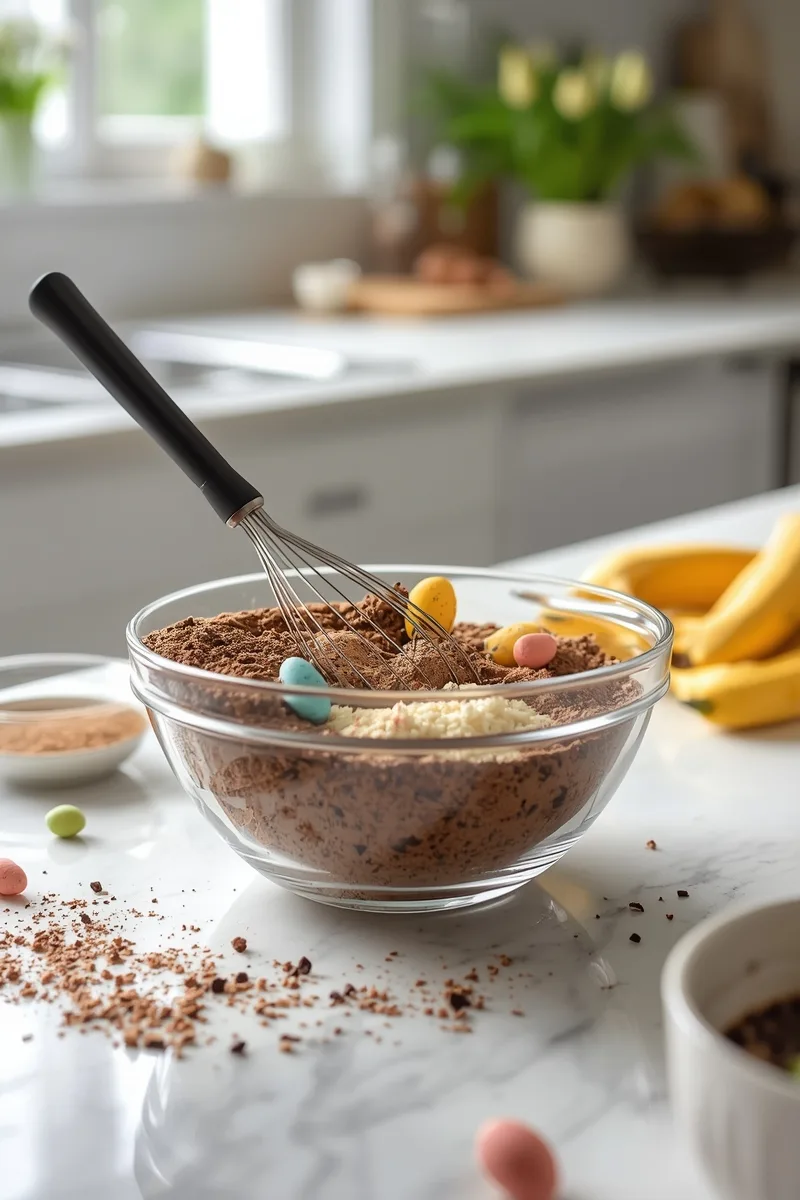
Ready to get your hands dirty (in a delicious way)? Let’s dive into making this delightful Dirt Cake step by step!
Step 1: Crush the Oreos
Start by crushing the Oreo cookies. You can do this in a food processor or place them in a resealable bag and smash them with a rolling pin. Perfect for channeling some energy! You want a fine crumb that feels like sand when you touch it. Trust me, this step makes all the difference. Set aside about a cup of the crumbs for topping later. Combine the rest with the melted butter in a bowl and mix thoroughly. The mixture should be moist yet crumbly, a delightful chocolate base that brings a smile to your face!
Step 2: Prepare the Cream Cheese Mixture
In another bowl, combine the softened cream cheese and powdered sugar. Use your electric mixer or whisk it by hand until it’s nice and smooth. The mixture should be creamy with a hint of sweetness. Remember, it’s all about the texture here!
Next, gently fold in that fluffy, adorable cool whip. It’s what gives the cake that dreamy, light texture. A few gentle motions should do the trick until it’s well-combined, a beautiful cloud of creaminess.
Step 3: Make the Chocolate Pudding
In a separate bowl, whisk together the chocolate pudding mix and the milk until it thickens. This part is magical. Keep whisking until it’s lump-free and smooth. You’ll know it’s ready when it feels thick but still pourable, and it has that rich chocolate color. Pure heaven!
Step 4: Layer It Up
Now comes the fun part! Grab your baking dish or flower pots. Start by layering half of the crumb mixture at the bottom, pressing it down gently. Follow with half of the cream cheese mixture, then half of the chocolate pudding. Repeat these layers, ending with the remaining cream cheese on top. Smooth it out like the icing on a cake!
Step 5: Chill and Garnish
Pop your finished Dirt Cake into the fridge for at least 4 hours (or overnight, if you can wait!). Allow the layers to meld beautifully together.
Before serving, sprinkle that reserved Oreo crumb over the top. Feel free to decorate with gummy worms, edible flowers, or anything else that screams “Easter fun!” The visual is what truly brings your Dirt Cake to life!
What to Serve with Easy Easter Dirt Cake Delight
This Dirt Cake pairs perfectly with a few delightful treats! Consider serving it alongside:
- Fresh fruit salads for a refreshing contrast
- Cute mini Easter cupcakes for those who can’t resist more sweets
- A light spring tea, like chamomile or mint, can really elevate the experience
And if you’re looking for more dessert ideas, check out Baked Blueberry Cottage Cheese Breakfast Bowls or perhaps the ever-indulgent Gooey Chocolate Chip Cookie Pie!
Tips for Making It Perfect

Here are some tips I’ve snagged from years of baking — they’ll really help you create the best Dirt Cake!
- Prepare all your ingredients in advance to make the process smoother.
- Be gentle when folding in your whipped cream; we don’t want to lose that airy texture!
- If you’re delicate with the layers, they’ll stay more distinct as they chill.
- Do a dry run — double the recipe if you’re expecting a hungry crowd. It’s a crowd-pleaser, trust me!
- Make-ahead: It tastes even better the next day, so feel free to make it ahead of time!
Storage Instructions
What about leftovers (if there are any)? Store the Dirt Cake in an airtight container in the refrigerator. It will last for about 3 days — though it’s unlikely to last that long! If you want to keep it longer, I recommend freezing it. Just make sure it’s well-wrapped to avoid freezer burn. When you’re ready to serve it again, let it thaw in the fridge overnight before enjoying.
Common Mistakes to Avoid
- Overcrushing the cookies can lead to too fine a crumb — you want some texture!
- Using too much liquid while making the pudding might lead to a watery dessert. Stick to the package instructions!
- Skipping the resting time is a no-no. Allowing it to chill ensures the layers meld perfectly together.
General Information
This Dirt Cake has its origins in simple, homey desserts that have been a family staple for years, often each family putting their unique spin on it. The first time I made it, I was simply trying to impress my nieces after a fun Easter egg hunt. Let’s say their shrieks of delight were more than enough reward — capturing the happiness in their smiles made every effort worth it.
Cooking Summary
Prep Time: 25 minutes
Chill Time: 4 hours
Total Time: 4 hours 25 minutes
Yield: 12 servings
Category: Dessert
Method: No-Bake
Cuisine: American
Diet: Vegetarian
Frequently Asked Questions
- Can I use different flavors of pudding? Totally! Vanilla or butterscotch can make an intriguing flavor twist.
- What’s the best way to store leftovers? An airtight container in the fridge is ideal for about 3 days.
- Can you freeze this cake? Yes! Just ensure it’s tightly wrapped to keep its texture and flavor intact.
Conclusion
Why is this Irresistible Easter Dirt Cake worth making? It’s simple, delicious, and brings together family and friends in a playful way. The joy of seeing smiling faces as you serve up a dessert that’s as fun as it is tasty is what keeps me cooking. You’ll not only enjoy the delightful taste but create cherished memories along the way.
As you dive into making this delightful dessert, remember that cooking isn’t just about the dish; it’s about the experience. So go ahead, roll up your sleeves, and have fun!
Interactive Elements
I’d love to hear how your Dirt Cake turns out! Please leave a review or comment below. And if you’re on social media, I invite you to share a photo of your creation on Pinterest; let’s spread the joy of baking!
Nutritional Information
Approximate calories and macros per serving:
| Serving Size | Calories | Carbohydrates | Protein | Fat |
|————–|———|—————|———|—–|
| 1 serving | 300 | 40g | 4g | 15g |
Every bite is a piece of happiness! Now, happy baking, dear friends, and I look forward to seeing your creations! Until next time!

Lydia Madisyn
Lydia Madisyne is a food lover and recipe creator who believes cooking is all about love, comfort, and connection. On poulef.com, she shares wholesome, flavorful dishes and everyday inspiration to make your kitchen a place of joy.

Irresistible Easy Easter Dirt Cake – 12 Servings of Fun!
By Lydia Madisyn
Ingredients
Instructions
Save & Follow ❤️
PoulefRecipes : Easy recipes - Dinner ideas & More
Save to Pinterest Follow Account