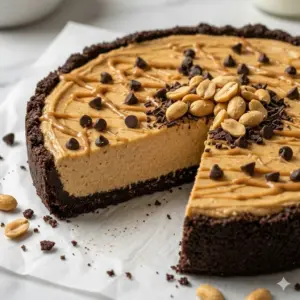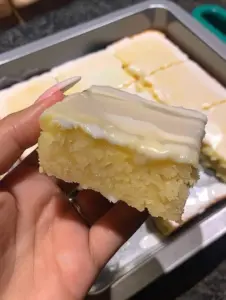

Thanks for being here! I’m so excited to share a recipe that holds a special place in my heart: Irresistible Chocolate Lava Treats with Melty Goodness. There’s nothing quite like pulling these little gems out of the oven and seeing that warm chocolate center waiting to burst forth at the first forkful. Trust me; as soon as you take a bite, you’ll understand why these treats are the ultimate comfort dessert.
Overview of Recipe Content
These delightful chocolate lava cookies are a rich treat, perfect for special occasions or those cozy nights when you just need something indulgent. They have a gooey chocolate center that oozes like a warm hug, contrasting beautifully with the slightly crispy outer layer.
You’re going to love how simple they are to whip up — they’re quick to make and sure to impress family and friends. Plus, you can prepare the batter ahead of time and pop them right in the oven when the craving strikes. Best of all, these treats bring warmth and comfort, making them a must-have during the cooler months.
Ingredients
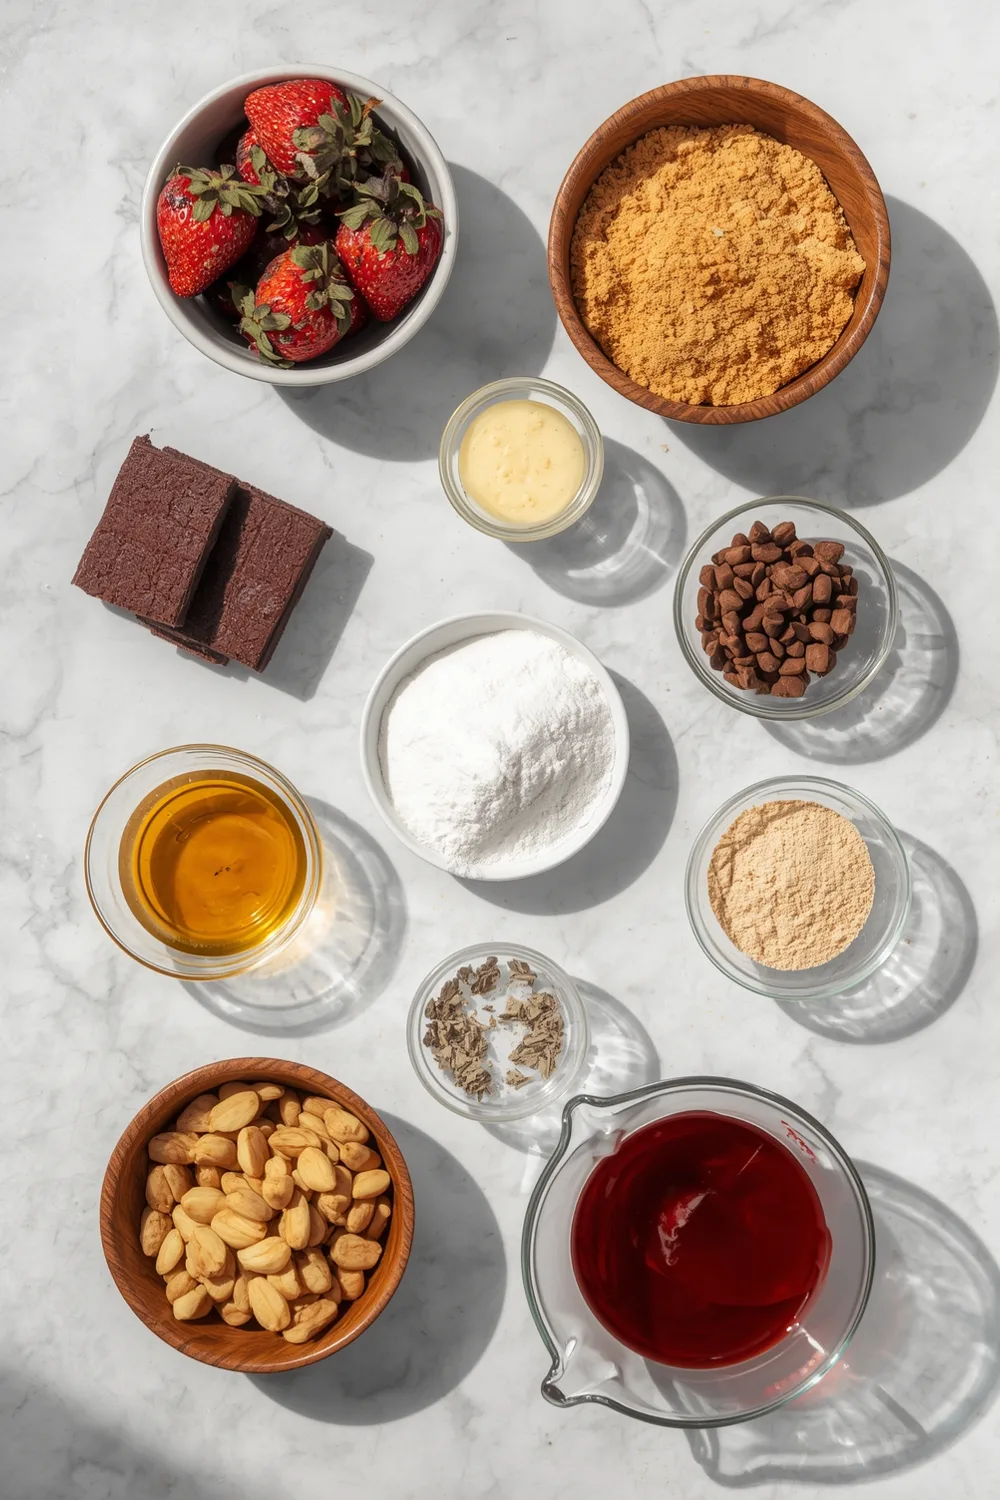
- 1 cup semisweet chocolate chips
- 1/2 cup unsalted butter
- 3/4 cup granulated sugar
- 2 large eggs
- 1 teaspoon vanilla extract
- 1/2 cup all-purpose flour
- 1/4 teaspoon salt
- 1/4 cup cocoa powder
Tools Needed
Suggested Substitutions and Additions
- Use dark chocolate for a richer flavor
- Swap granulated sugar with brown sugar for extra moisture
- Add a pinch of espresso powder to enhance the chocolate flavor
- Experiment with flavored extracts like almond or orange for a twist
How to Make Irresistible Chocolate Lava Treats with Melty Goodness
Step 1: Melt the Chocolate and Butter
Start by melting the semisweet chocolate chips and butter together. You can do this in a heatproof bowl over a pot of simmering water (a bain-marie method) or in the microwave, heating in 30-second intervals. Stir until smooth, allowing the rich aroma of melted chocolate to fill your kitchen — the scent alone is such a mood boost!
Step 2: Mix the Sugar and Eggs
In a separate bowl, whisk together the granulated sugar and eggs until the mixture is lighter in color and slightly thickened. You’ll know it’s ready when it feels airy under the whisk. Add the vanilla extract, and stir to combine.
Step 3: Combine the Mixtures
Gradually pour the melted chocolate mixture into the creamed sugar and eggs, mixing gently until combined. This melting chocolate should create a beautiful dark batter that makes you want to dive right in — but hold on! There’s still more magic to create.
Step 4: Add the Dry Ingredients
Sift in the flour, salt, and cocoa powder directly into the chocolate mixture. Use your spatula to fold them in. Be careful — you want to avoid overmixing. Stop just when you see that the flour is absorbed, ensuring you keep that lovely, soft texture.
Step 5: Preheat the Oven and Prepare Your Molds
Preheat your oven to 425°F (220°C). Grease your muffin tin or ramekins with butter and dust them lightly with cocoa powder. This will not only prevent sticking but will also add a whisper of chocolate flavor to each bite.
Step 6: Fill the Molds
Pour or spoon the batter into each mold, filling them about three-quarters full. The excitement builds as you envision how these will rise and envelop that lovely molten center.
Step 7: Bake and Enjoy
Bake your treats for about 12-14 minutes. You’ll want the edges to look firm while the center remains soft. You’ll know they’re ready when your kitchen fills with the heavenly aroma of chocolate.
Once baked, let them cool in the pan for just a minute before gently inverting onto a plate. Watch as they tumble out, eagerly waiting to be cut into, revealing that deliciously gooey center.
What to Serve with Irresistible Chocolate Lava Treats with Melty Goodness
These treats shine as they are, but they also love a little company! Serve them with a scoop of vanilla ice cream or a dollop of whipped cream to elevate the indulgence.
You can enhance the experience further by pairing them with a cup of freshly brewed coffee or a glass of cold milk. For more cozy recipes like this, try my classic peppermint brownies recipe or these baked blueberry cottage cheese breakfast bowls that are also crowd-pleasers!
Tips for Making It Perfect
- Prepare the batter a day in advance, allowing the flavors to deepen
- Don’t overbake; the perfect texture is key to the gooey center
- If they stick, run a thin knife around the edges to free them from the molds
- To double the batch for more friends, simply multiply the ingredients accordingly
Storage Instructions
These irresistible treats are best enjoyed fresh from the oven, but if you have leftovers (if that’s even possible!), store them in an airtight container at room temperature for up to 2 days. For longer storage, you can freeze them! Wrap each treat in plastic wrap, then foil, and place them in a freezer-safe bag — they’ll stay delicious for a month.
When you’re ready for a treat, simply reheat them in the oven at a low temperature for about 5-10 minutes to restore that melty goodness!
General Information
Chocolate lava cake, also known as molten chocolate cake, boasts a rich history, believed to have been invented in the early 1980s. It’s fascinating how something so simple can be so decadent, and it’s truly become a staple in many households — especially when you want to impress someone special with minimal effort. Whenever I whip these up, I’m taken back to the times spent sharing them with family and friends during cozy gatherings, and I haven’t met anyone yet who hasn’t fallen in love with them!
Frequently Asked Questions
- Can I substitute all-purpose flour with gluten-free flour? Yes, many people use almond flour or a cup-for-cup gluten-free blend with great success.
- How long can I store leftovers? Well, they are so good that you may want to eat them all at once! But you can store them in an airtight container for 2 days or freeze for up to a month.
- What should I do if my centers don’t ooze? They might have been overbaked. Make sure to time them accurately! You want the center to be soft and slightly jiggly — that guarantees a glorious molten center.
- How can I adapt this recipe for dietary restrictions? Substitute dairy-free chocolate and butter for a vegan approach or use egg replacers for an egg-free option.
Conclusion
So there you have it! Irresistible Chocolate Lava Treats with Melty Goodness are truly a delightful treat, perfect for any occasion — whether you’re celebrating a special moment or simply treating yourself.
Here are some recipes related to Irresistible Chocolate Lava Treats with Melty Goodness ideas:
Baked style pecan pie oatmeal cookies,Chewy gluten free peanut butter oatmeal cookies,Flourless banana oatmeal muffins,Walnut cinnamon chia oatmeal cake
I hope you enjoy making these delicious treats as much as I loved sharing this recipe with you!
Interactive Elements
If you love cozy recipes like this, subscribe to my email list!
Leave a review or comment to tell me how your chocolate lava treats turned out, or better yet, share a photo on Pinterest. It warms my heart to see your creations!
Nutritional Information
Approximate calories and macros per serving
- Calories: 240
- Protein: 3g
- Carbohydrates: 25g
- Fat: 15g
- Saturated Fat: 9g
- Sugar: 14g
Indulge yourself and enjoy every gooey bite!

Lydia Madisyn
Lydia Madisyne is a food lover and recipe creator who believes cooking is all about love, comfort, and connection. On poulef.com, she shares wholesome, flavorful dishes and everyday inspiration to make your kitchen a place of joy.

Irresistible Chocolate Lava Treats: 7 Ingredients of Magic
By Lydia Madisyn
Ingredients
Instructions
Save & Follow ❤️
PoulefRecipes : Easy recipes - Dinner ideas & More
Save to Pinterest Follow Account