
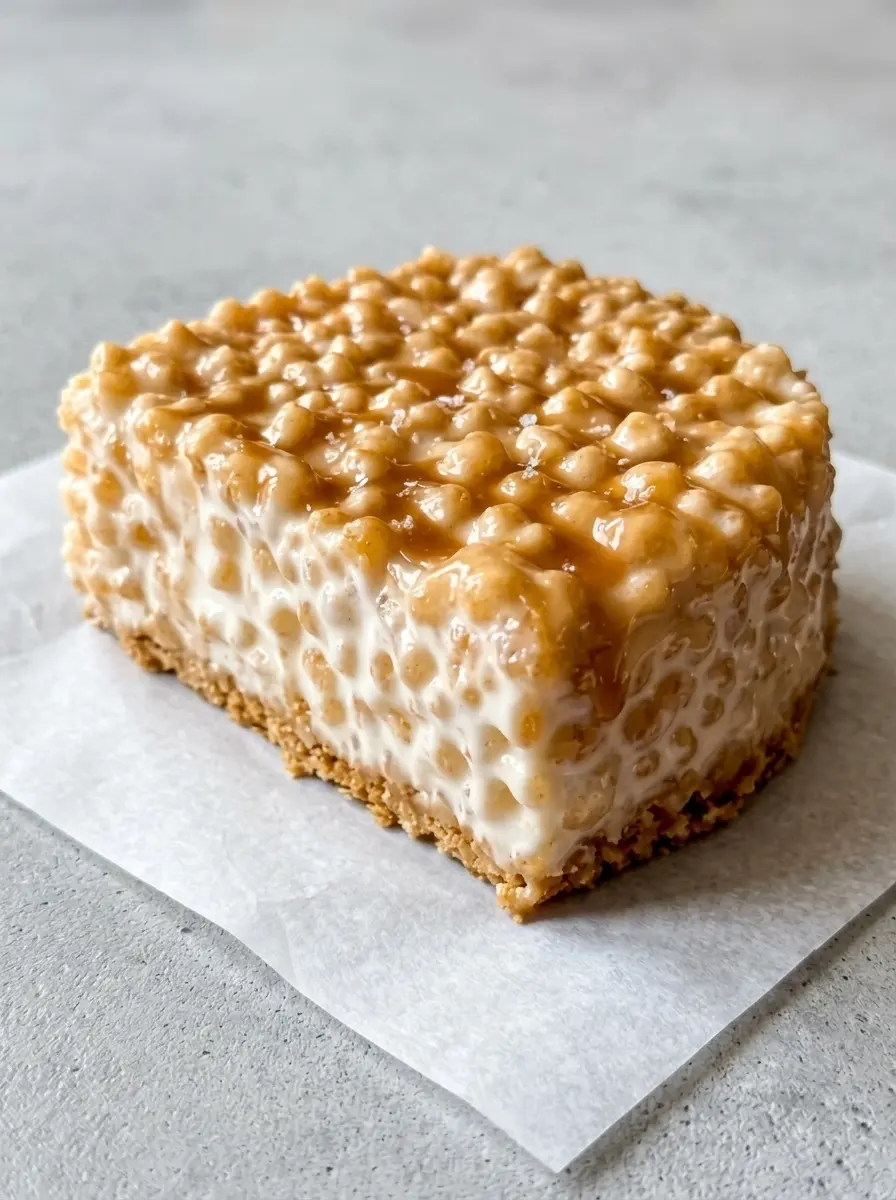
If you love classic Rice Krispy Treats and creamy cheesecake, this Giant Rice Krispy Treat Cheesecake combines both into one fun, show-stopping dessert.
Instead of a traditional graham cracker crust, this no-bake cheesecake uses a giant Rice Krispy Treat as its crust. The crispy marshmallow cereal surrounds a light and fluffy cheesecake filling made with cream cheese, marshmallow creme, and whipped topping. The whole dessert is finished with whipped cream and little Rice Krispy Treat cubes for an extra playful presentation.
It’s an especially fun dessert for birthdays, potlucks, barbecues, family celebrations, or whenever you want something a little different from a classic cheesecake.
What Is a Giant Rice Krispy Treat Cheesecake?
A Giant Rice Krispy Treat Cheesecake is a no-bake dessert that transforms the familiar cereal treat into a cheesecake crust.
The crust is prepared with Rice Krispies cereal, butter, and miniature marshmallows. Instead of pressing the mixture into a rectangular pan, it is shaped inside a 9- or 10-inch springform pan to create both the bottom and sides of the cheesecake.
The filling is made by combining softened cream cheese with sugar and vanilla, then adding marshmallow creme and folding in whipped topping. After the filling is spread into the cereal crust, the cheesecake is chilled until firm.
Why You’ll Love This Cheesecake
| Feature | Details |
|---|---|
| Texture | Crispy, chewy crust with a light, fluffy filling |
| Flavor | Sweet marshmallow, vanilla, and creamy cheesecake |
| Method | No-bake |
| Difficulty | Easy |
| Pan | 9- or 10-inch springform pan |
| Chill Time | At least 2 hours |
| Servings | About 8–10 |
| Best For | Parties, potlucks, birthdays, holidays |
No Oven Required
The cheesecake sets in the refrigerator, making it a convenient dessert when you don’t want to turn on the oven.
A Giant Rice Krispy Treat Crust
The cereal crust is the feature that makes this dessert so memorable. It has the familiar marshmallow-and-cereal texture of a Rice Krispy Treat but in cheesecake form.
Creamy Marshmallow Filling
The cheesecake filling combines cream cheese with marshmallow creme and whipped topping for a soft, airy texture.
Fun Presentation
Whipped cream around the edges and cubed Rice Krispy Treat pieces in the center make the finished cheesecake look playful and impressive.
Ingredients You’ll Need
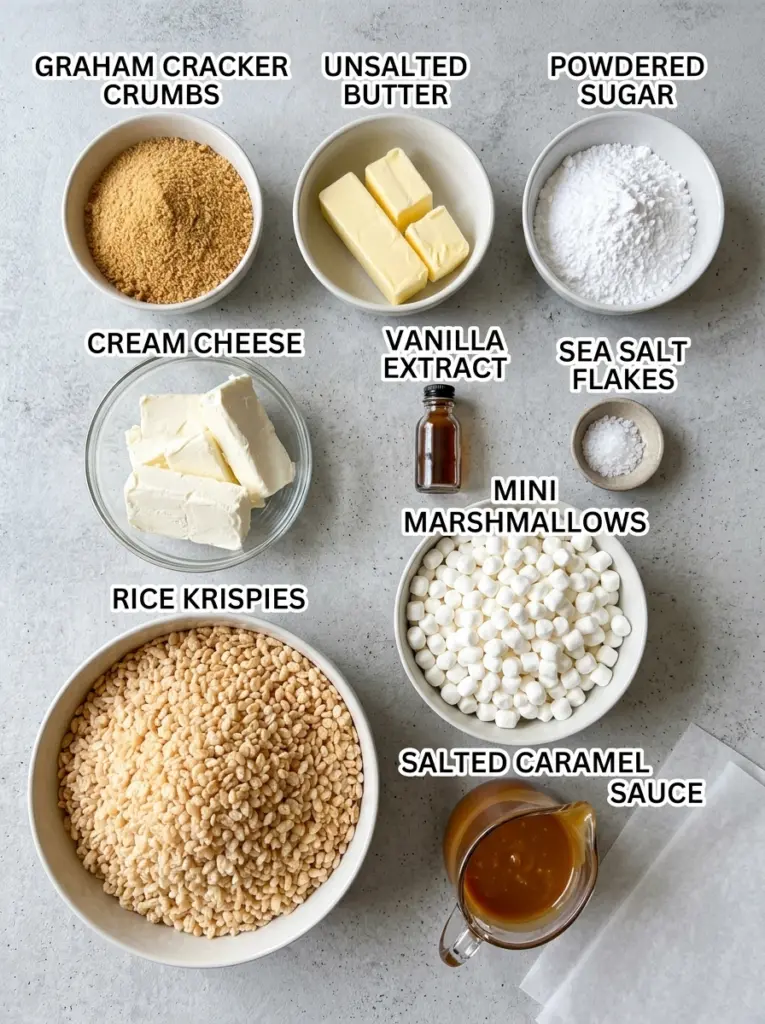
For the Rice Krispy Treat Crust
| Ingredient | Amount |
|---|---|
| Rice Krispies cereal | 6 cups |
| Salted butter | 1/4 cup |
| Miniature marshmallows | 1 package (10 oz) |
For the Cheesecake Filling
| Ingredient | Amount |
|---|---|
| Cream cheese, softened | 1 package (8 oz) |
| Granulated sugar | 1/2 cup |
| Vanilla extract | 1 teaspoon |
| Marshmallow creme or fluff | 1 jar (7 oz) |
| Cool Whip, thawed | 1 container (8 oz) |
For the Garnish
| Ingredient | Amount |
|---|---|
| Whipped cream | As needed |
| Prepared Rice Krispy Treats, cut into cubes | As needed |
These quantities follow the published version of the recipe.
Kitchen Equipment
| Equipment | Purpose |
|---|---|
| 9- or 10-inch springform pan | Forms the cheesecake |
| Large mixing bowl | Holds the cereal |
| Medium saucepan | Melts butter and marshmallows |
| Stand mixer or hand mixer | Makes the filling |
| Spatula | Spreads and folds ingredients |
| Greased glass | Helps press the cereal crust |
| Refrigerator | Sets the cheesecake |
How to Make Giant Rice Krispy Treat Cheesecake
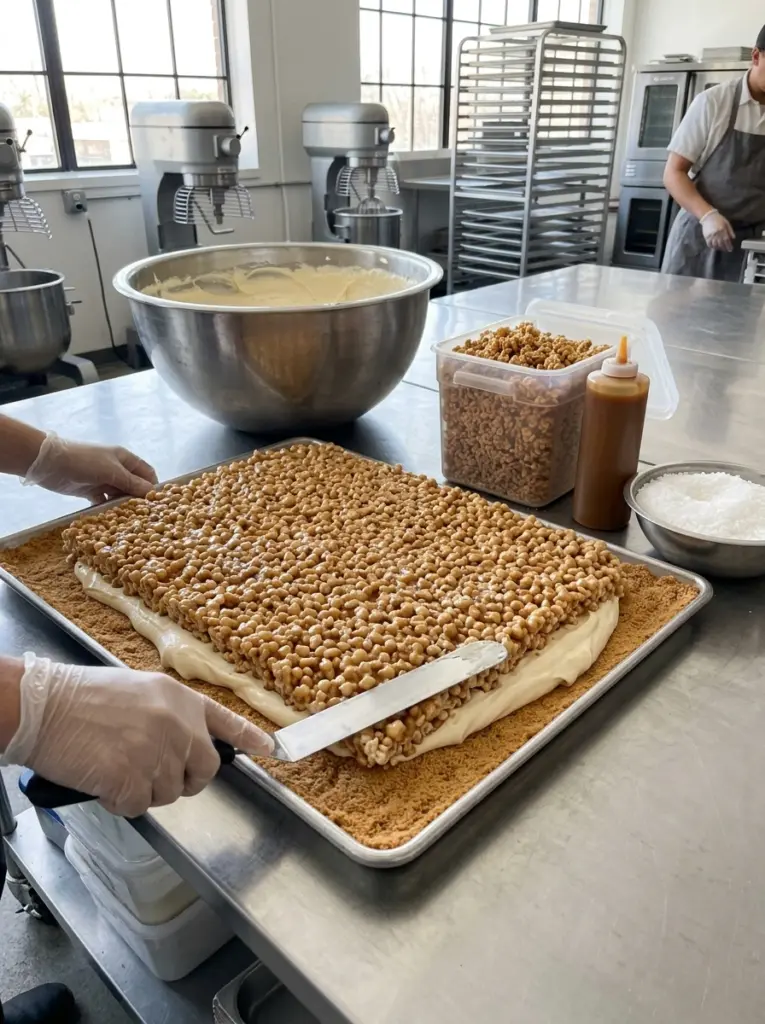
Step 1: Prepare the Pan
Generously grease a 9- or 10-inch springform pan with cooking spray.
A springform pan is especially useful because the finished cheesecake can be released from the sides without damaging the Rice Krispy Treat crust.
Step 2: Add the Cereal
Place the Rice Krispies cereal into a large mixing bowl and set it aside.
Step 3: Melt the Butter and Marshmallows
Add the salted butter and miniature marshmallows to a medium saucepan.
Heat over low heat, stirring constantly, until the butter and marshmallows have completely melted into a smooth mixture.
Step 4: Combine With the Cereal
Immediately pour the melted marshmallow mixture over the Rice Krispies.
Gently toss everything together until the cereal is thoroughly coated.
Work fairly quickly because the marshmallow mixture becomes harder to spread as it cools.
Step 5: Form the Giant Crust
Transfer the coated cereal mixture into the prepared springform pan.
Lightly grease the bottom of a drinking glass and use it to press the mixture firmly into the bottom and up the sides of the pan.
The goal is to create a sturdy Rice Krispy Treat shell that will hold the cheesecake filling.
Step 6: Let the Crust Set
Allow the crust to set for approximately 20 minutes while you prepare the filling.
Step 7: Make the Cheesecake Filling
Add the softened cream cheese, sugar, and vanilla extract to a large mixing bowl.
Beat until smooth and creamy.
Step 8: Add the Marshmallow Creme
Beat the marshmallow creme into the cream cheese mixture until everything is smooth and fully incorporated.
Step 9: Fold in the Whipped Topping
Add the thawed Cool Whip and gently fold it into the cream cheese mixture by hand.
Avoid overmixing so the filling stays light and fluffy.
Step 10: Fill the Crust
Spoon the cheesecake filling into the Rice Krispy Treat crust.
Use a spatula to spread the filling evenly and smooth the top.
Step 11: Decorate
Pipe or dollop whipped cream around the outside edge of the cheesecake.
Place prepared Rice Krispy Treat pieces that have been cut into cubes in the center.
This gives the cheesecake its signature giant Rice Krispy Treat appearance.
Step 12: Chill
Cover the cheesecake and refrigerate it for at least 2 hours, or until the filling has set.
Once firm, carefully remove the springform pan and slice the cheesecake.
Tips for the Best Rice Krispy Treat Cheesecake
Grease Everything Well
The marshmallow cereal mixture is sticky. Greasing the pan and the glass used to press the crust makes shaping much easier.
Work Quickly With the Crust
The melted marshmallow mixture is easiest to spread while it is still warm.
Don’t Press the Crust Too Loosely
The crust needs enough pressure to hold together once the cheesecake filling is added.
Don’t Overmix the Filling
Fold the whipped topping into the cream cheese mixture gently. This helps maintain the fluffy texture.
Chill Before Slicing
Give the cheesecake enough time in the refrigerator to become firm. A minimum of 2 hours is recommended.
How to Serve
This cheesecake is best served cold, straight from the refrigerator.
Use a clean knife to cut slices. For cleaner cuts, you can warm the knife slightly and wipe it between slices.
| Serving Idea | Description |
|---|---|
| Classic | Serve chilled as-is |
| Party Dessert | Cut into slices for birthdays and celebrations |
| Potluck | Keep refrigerated until serving |
| Summer Dessert | Perfect for gatherings when you want a no-bake option |
| Extra Sweet | Add additional whipped cream |
| Chocolate Twist | Drizzle the finished cheesecake with melted chocolate |
Variations
Chocolate Rice Krispy Crust
Use chocolate-flavored crispy rice cereal for a chocolate-inspired version.
Chocolate Cheesecake Filling
Add cocoa powder to the filling for a chocolate-marshmallow combination.
Berry Topping
Add fresh strawberries, raspberries, or blueberries immediately before serving.
Birthday Version
Decorate the top with colorful sprinkles for a fun birthday dessert.
Peanut Butter Version
Swirl smooth peanut butter into the filling before chilling for a peanut-butter-and-marshmallow combination.
Storage
Cover the cheesecake tightly and keep it refrigerated.
Because the crust is made from cereal and marshmallows, its texture can gradually soften while refrigerated. For the best texture, enjoy the cheesecake within a few days.
Frequently Asked Questions
Is Giant Rice Krispy Treat Cheesecake no-bake?
Yes. The cheesecake filling is prepared without baking, and the assembled dessert is chilled in the refrigerator until set.
What kind of pan should I use?
A 9- or 10-inch springform pan works well because it allows you to remove the cheesecake easily after it has chilled.
Can I use regular whipped cream instead of Cool Whip?
The original recipe specifically uses Cool Whip because it provides a stable, fluffy filling. Using regular whipped cream can result in a softer filling.
How long should the cheesecake chill?
Chill the assembled cheesecake for at least 2 hours, or until the filling is firm enough to slice.
Can I make this cheesecake ahead?
Yes. Since it needs refrigeration to set, it can be prepared ahead of serving. Keep it covered and refrigerated.
Why is my Rice Krispy crust too sticky?
The melted marshmallow mixture is naturally sticky. Greasing the pan and the glass used for pressing the mixture helps considerably.
Nutrition Information
Nutrition values are approximate and depend on the exact brands and portion sizes used.
| Nutrition | Approximate Amount |
|---|---|
| Calories | 520 kcal |
| Carbohydrates | 72 g |
| Protein | 5 g |
| Fat | 23 g |
| Saturated Fat | 13 g |
| Unsaturated Fat | 8 g |
| Trans Fat | 0.5 g |
| Cholesterol | 50 mg |
| Sodium | 360 mg |
| Fiber | 0.5 g |
| Sugar | 48 g |
Recipe at a Glance
| Detail | Information |
|---|---|
| Recipe | Giant Rice Krispy Treat Cheesecake |
| Prep Time | 30 minutes |
| Cook Time | 5 minutes |
| Chill Time | 2 hours |
| Total Time | About 2 hours 35 minutes |
| Yield | 8–10 servings |
| Category | Dessert, No-Bake Dessert |
| Method | No-Bake |
| Cuisine | American |
| Diet | Vegetarian |
Final Thoughts
This Giant Rice Krispy Treat Cheesecake takes two nostalgic desserts and turns them into one unforgettable centerpiece. The giant crispy cereal crust provides a chewy, marshmallowy contrast to the creamy cheesecake filling, while the Rice Krispy Treat cubes on top make the presentation extra fun.
It’s easy enough for a casual family dessert but impressive enough for a party. If you’re a fan of classic Rice Krispy Treats, this no-bake cheesecake is a creative way to enjoy those familiar flavors in a completely different form.
Print
Giant Rice Krispy Treat Cheesecake
- Total Time: 2 hours 35 minutes
- Yield: 8–10 servings 1x
- Diet: Vegetarian
Description
Giant Rice Krispy Treat Cheesecake is a fun no-bake dessert with a giant Rice Krispy Treat crust, fluffy marshmallow cream cheese filling, whipped cream, and Rice Krispy Treat cubes on top.
Ingredients
6 cups Rice Krispies cereal
1/4 cup salted butter
1 (10 oz) package miniature marshmallows
1 (8 oz) package cream cheese, softened
1/2 cup granulated sugar
1 teaspoon vanilla extract
1 (7 oz) jar marshmallow creme or marshmallow fluff
1 (8 oz) container Cool Whip, thawed
Whipped cream, for garnish
Prepared Rice Krispy Treats, cut into cubes, for garnish
Instructions
1. Generously grease a 9- or 10-inch springform pan with cooking spray.
2. Place the Rice Krispies cereal in a large mixing bowl and set aside.
3. In a medium saucepan over low heat, melt the salted butter and miniature marshmallows together, stirring constantly until smooth.
4. Immediately pour the melted marshmallow mixture over the cereal and gently toss until the cereal is completely coated.
5. Transfer the coated cereal mixture to the prepared springform pan.
6. Using a greased glass, firmly press the cereal mixture into the bottom and up the sides of the pan to form the crust.
7. Let the crust set for about 20 minutes.
8. In a large bowl, beat the softened cream cheese, sugar, and vanilla extract until smooth and creamy.
9. Beat in the marshmallow creme until fully incorporated and smooth.
10. Gently fold in the thawed Cool Whip by hand until the filling is light and fluffy.
11. Spread the cheesecake filling evenly into the Rice Krispy Treat crust and smooth the top.
12. Pipe or dollop whipped cream around the edge of the cheesecake.
13. Arrange cubed prepared Rice Krispy Treats in the center of the cheesecake.
14. Cover and refrigerate for at least 2 hours, or until completely set.
15. Remove the springform pan, slice, and serve chilled.
Notes
Grease the pan and glass well because the marshmallow cereal mixture is sticky.
Work quickly when shaping the Rice Krispy Treat crust while the marshmallow mixture is warm.
Do not overmix the Cool Whip into the filling so the cheesecake remains light and fluffy.
Chill the assembled cheesecake for at least 2 hours before slicing.
Keep leftovers covered and refrigerated.
For the best texture, enjoy within a few days.
- Prep Time: 30 minutes
- Cook Time: 5 minutes
- Category: Dessert, No-Bake Dessert
- Method: No-Bake
- Cuisine: American
Nutrition
- Serving Size: 1 slice
- Calories: 520
- Sugar: 48 g
- Sodium: 360 mg
- Fat: 23 g
- Saturated Fat: 13 g
- Unsaturated Fat: 8 g
- Trans Fat: 0.5 g
- Carbohydrates: 72 g
- Fiber: 0.5 g
- Protein: 5 g
- Cholesterol: 50 mg

Gianna Poulef
I’m Gianna Poulef from Poulef Recipes. I love sharing perfected dishes from my kitchen. I’m sure they’ll earn a spot in your heart. Let’s savor this journey together!.
Let’s be friends!