
Thanks for being here! I’m so excited to share this Fluffy Homemade Buttermilk Bread Recipe for Sandwiches with you. There’s something incredibly special about the smell of fresh bread wafting through the house, isn’t there? This recipe is not just about making bread; it’s about bringing warmth and joy into your kitchen and your home. With buttermilk lending a hint of tanginess, this bread is soft, tender, and perfect for sandwiches, toast, or just slathering with butter. Trust me, once you try this, you’ll wonder how you ever lived without it.
Overview of Recipe Content
This Fluffy Homemade Buttermilk Bread is an everyday loaf that can elevate any lunch or breakfast. Imagine sinking your teeth into a soft slice of bread, the fresh aroma enveloping your senses. It’s perfect for breakfast toast, hearty sandwiches, or even a comforting side to your soup. This bread is an excellent choice for families, lunch boxes, or even a cozy gathering with friends. The best part? It’s quick to whip up, healthy, and incredibly comforting – who can resist warm, homemade bread? Plus, buttermilk adds not only flavor but also moisture and richness, making each bite delectable.
Ingredients
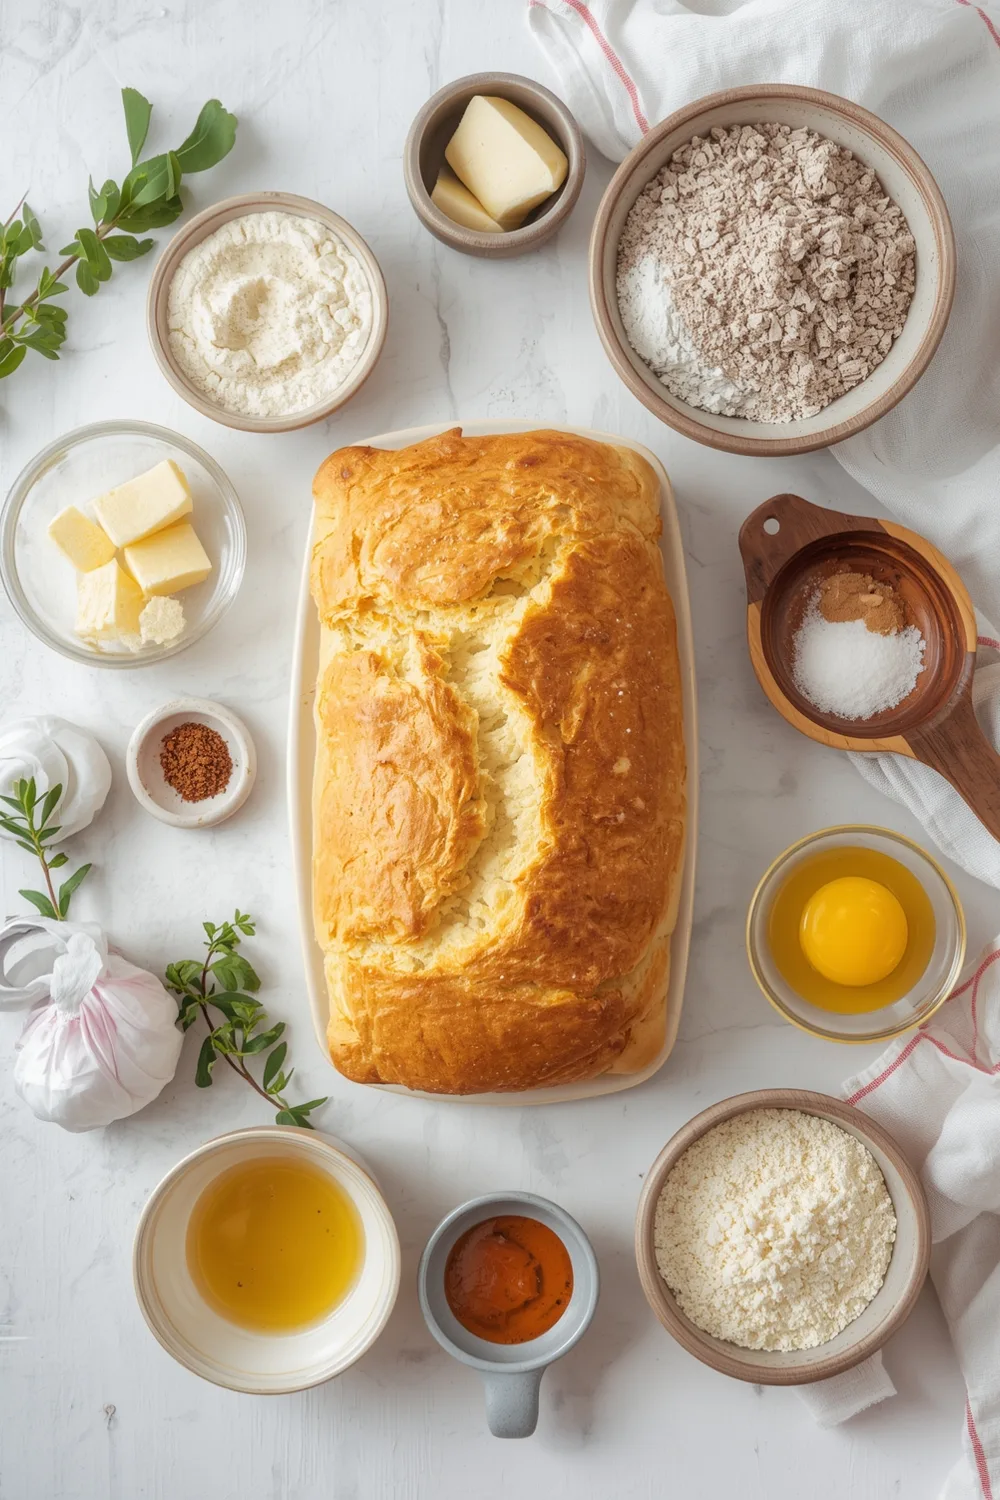
- 4 cups all-purpose flour
- 1 ½ teaspoons salt
- 1 tablespoon sugar
- 2 teaspoons instant yeast
- 1 ½ cups buttermilk, warmed
- ¼ cup unsalted butter, melted
- Optional: additional flour for dusting and kneading
Tools Needed
- Large mixing bowl
- Wooden spoon or spatula
- Measuring cups and spoons
- Clean kitchen towel
- Loaf pan (9×5 inch)
- Cooling rack
Suggested Substitutions and Additions
- Substitute whole wheat flour for half of the all-purpose flour for added nutrition.
- Use milk or a dairy-free milk alternative instead of buttermilk, with a splash of vinegar or lemon juice to create the tang.
- Add herbs like rosemary or thyme for a flavor twist.
- Consider incorporating shredded cheese or chopped nuts for added texture and taste.
How to Make Fluffy Homemade Buttermilk Bread Recipe for Sandwiches
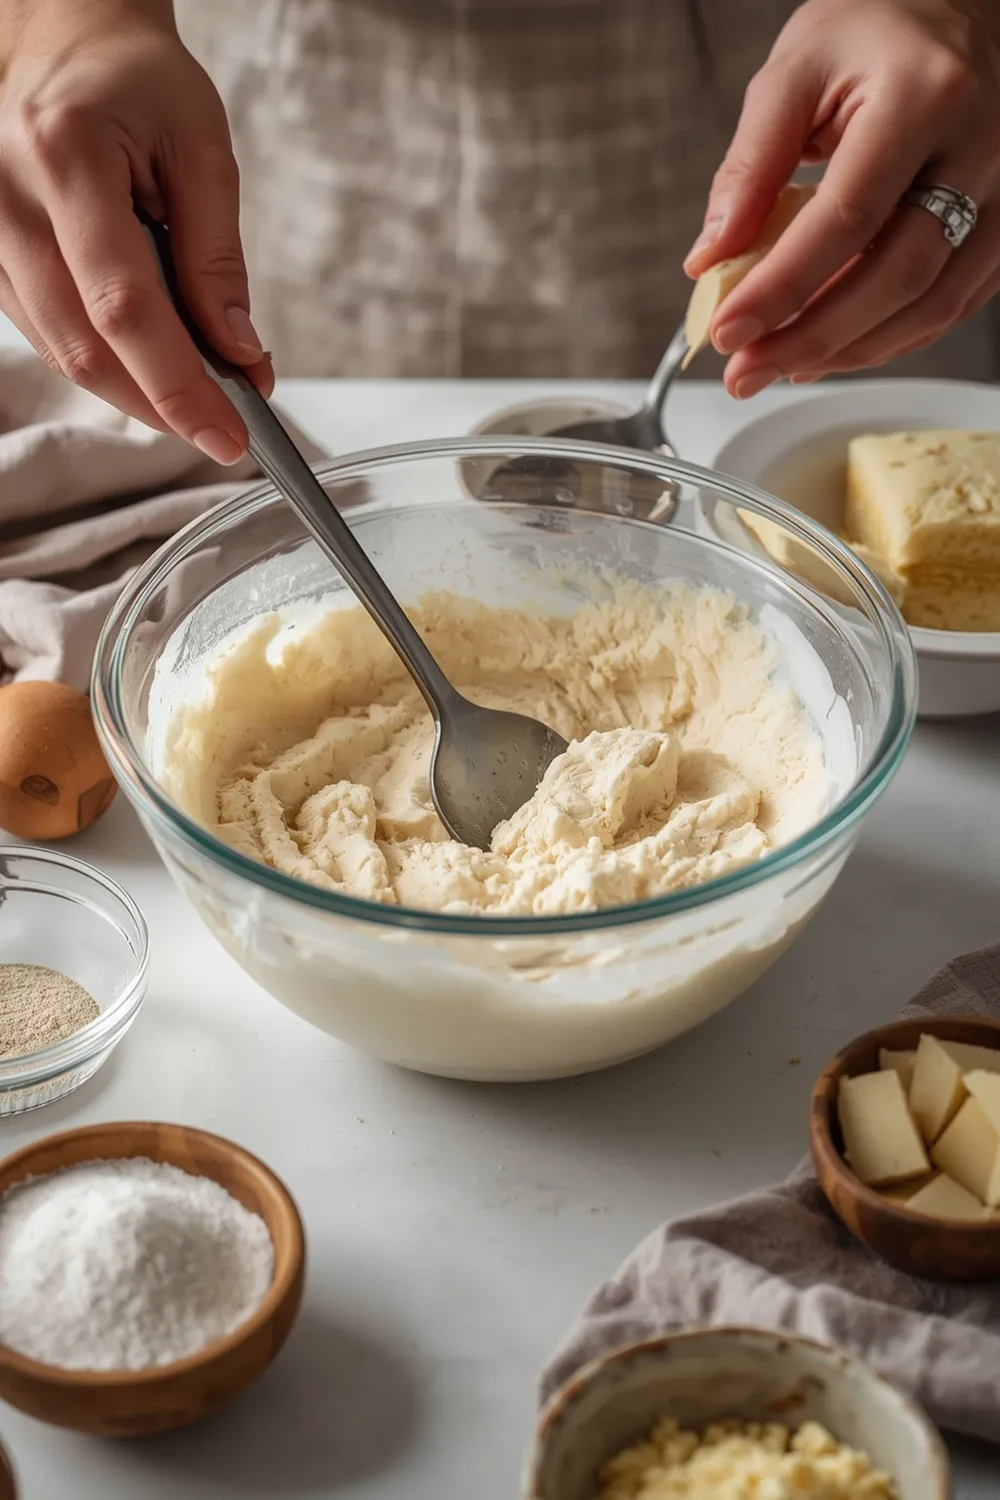
Step 1: Mix the Dry Ingredients
In a large mixing bowl, combine the flour, salt, sugar, and yeast. Whisk these ingredients together until they’re evenly mixed. You will feel like a baker in an artisan bakery, as the scent of flour gives a hint of what’s to come!
Step 2: Combine Wet Ingredients
In a separate bowl, combine the warm buttermilk and melted butter. Make sure the buttermilk is not too hot, or it could kill the yeast. You’re looking for a comfortable warmth – almost body temperature.
Step 3: Mix Together
Pour the wet ingredients into the dry ingredients, mixing with a wooden spoon or spatula until you form a shaggy dough. Imagine how the warmth is enticing you as you mix; it feels like a warm embrace from your kitchen!
Step 4: Kneading the Dough
Turn the dough out onto a floured surface. Knead it gently for about 8-10 minutes, adding flour as necessary to prevent stickiness. You’ll notice the dough becoming smooth and elastic; it’s a wonderful transition! You want it to feel plush and soft, almost like a gentle pillow.
Step 5: First Rise
Shape the dough into a ball and place it in a greased bowl, covering it with a clean kitchen towel. Let it rise in a warm, draft-free location until doubled in size, usually about 1-2 hours. This part is always magical – watching it grow and puff up!
Step 6: Shape the Loaf
Once your dough has risen, punch it down gently to remove the air. Transfer it to a floured surface and shape it into a loaf by gently rolling it into a rectangle and then rolling it up tightly. Pinch the seams to seal.
Step 7: Second Rise
Place the shaped dough into the loaf pan, cover it, and allow it to rise again for about 30-40 minutes, until it crowns over the edge of the pan. Feel free to sneak a peek. You’ll be able to see it is growing, which is always exciting!
Step 8: Bake
Preheat your oven to 375°F (190°C). Once preheated, pop the loaf in and bake for about 30-35 minutes until golden brown. You’ll know it’s perfect when it smells nutty and warm, and a light tap on the bottom sounds hollow.
Step 9: Cooling
Remove the pan from the oven and let it cool for about 5 minutes in the pan. Then, turn out the loaf onto a cooling rack to cool completely. It’s hard to resist the smell, but patience is rewarded.
What to Serve with Fluffy Homemade Buttermilk Bread Recipe for Sandwiches
This bread pairs beautifully with virtually anything, but for the ultimate sandwich experience, try it with classic deli meats and cheeses. You can’t go wrong with turkey and cheese, chicken salad, or grilled vegetables! If you’re feeling indulgent, top it with some easy cottage cheese cloud bread for a twist.
Tips for Making It Perfect
- Prep your ingredients ahead of time; it speeds up the process!
- Keep your kitchen warm while the dough is rising; you can turn on the oven to low and leave the door ajar.
- If the dough is too sticky, don’t hesitate to add in more flour during kneading.
- If you want to double the batch, simply divide into two loaf pans after the first rise!
Storage Instructions
Store the bread in an airtight container at room temperature for up to three days. For longer shelf life, slice and freeze the bread in a freezer bag for up to three months. When you’re ready to enjoy, just thaw at room temperature or pop it in the toaster.
General Information
Homemade bread has a rich history. Traditionally, bread-making has brought people together – from families in cozy kitchens to friends at casual gatherings. This buttermilk bread is no exception, elevating simple ingredients to make something extraordinary. It embodies warmth and love, much like the feeling of coming home after a long day.
Cooking Summary
Prep Time: 15 minutes
Cook Time: 35 minutes
Total Time: 2 hours
Yield: 1 loaf
Category: Bread
Method: Baking
Cuisine: American
Diet: Vegetarian
Frequently Asked Questions
- Can I use all whole wheat flour? Yes, you can substitute, but the texture may be denser.
- How long can I store this bread? It lasts about three days at room temperature; you can freeze it for longer shelf life.
- What if my bread is too dense? Ensure your yeast is active, and allow for proper rising time to ensure fluffiness.
Conclusion
This Fluffy Homemade Buttermilk Bread Recipe for Sandwiches is special not just because of its delightful taste but also due to the warmth it brings to your kitchen. It’s more than just a loaf of bread; it’s memories in the making — for every slice you toast, every sandwich you build, and every moment you share.
If you love cozy recipes like this, subscribe to my email list!
Interactive Elements
I would love to hear what you think! Please leave a review or comment below. And if you make this bread, share your beautiful photos on Pinterest!
Nutritional Information
Approximate calories and macros per serving:
| Component | Amount per Serving |
|———————–|——————–|
| Calories | 140 |
| Protein | 4g |
| Carbohydrates | 25g |
| Fats | 4g |
| Fiber | 1g |
I can’t wait for you to try this recipe and enjoy the magic of homemade bread!

Lydia Madisyn
Lydia Madisyne is a food lover and recipe creator who believes cooking is all about love, comfort, and connection. On poulef.com, she shares wholesome, flavorful dishes and everyday inspiration to make your kitchen a place of joy.

Delicious Fluffy Homemade Buttermilk Bread Recipe for 1 Loaf
By Lydia Madisyn
Ingredients
Instructions
Save & Follow ❤️
PoulefRecipes : Easy recipes - Dinner ideas & More
Save to Pinterest Follow Account