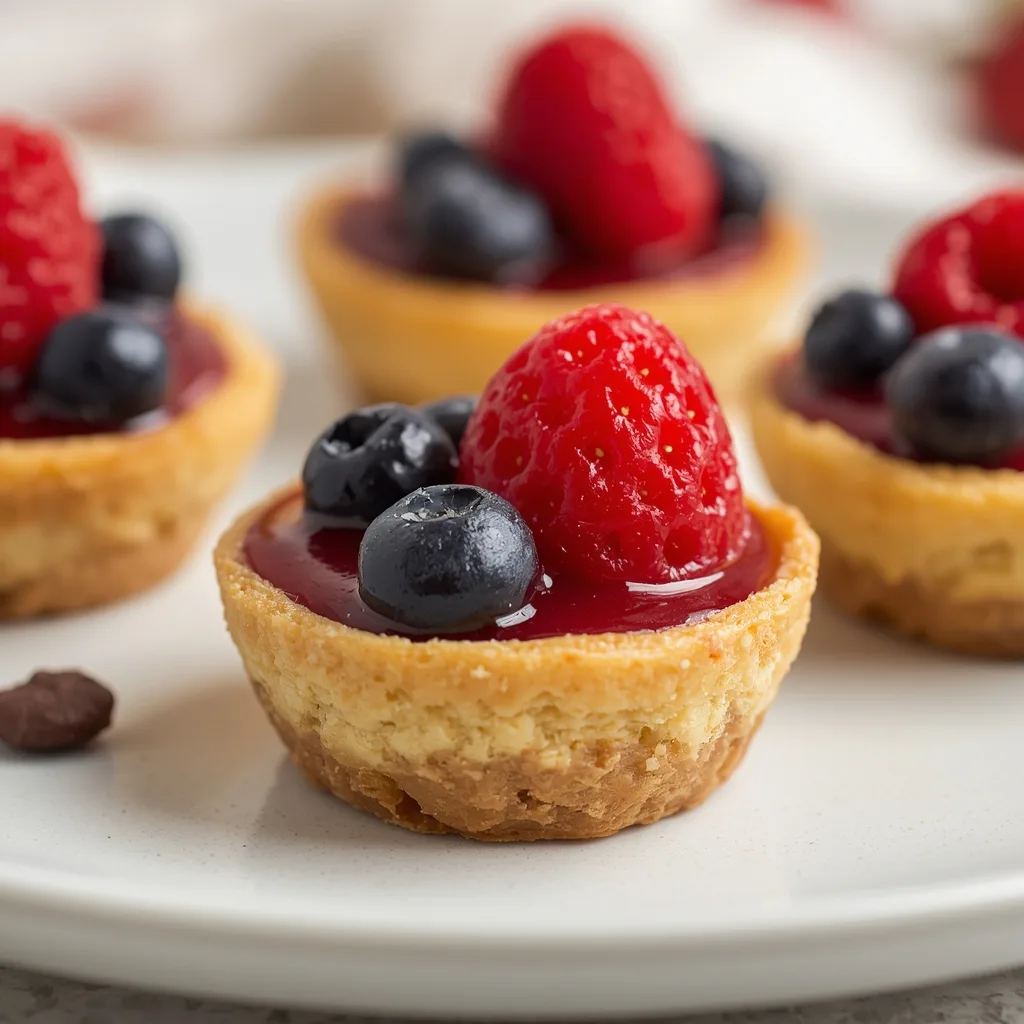
Thanks for being here! I’m so excited to share this easy no bake mini fruit tart recipe with you — perfect for picnics. There’s something magical about gathering outdoors with friends and family, basking in the sun while enjoying delicious treats. These fruit tarts are not just simple to make; they are visually stunning and burst with fresh flavors, making them the ideal addition to any outdoor gathering. As a chef, I truly cherish recipes that are both simple and delightful, and these mini tarts bring a smile to everyone’s face.
Overview of Recipe Content
This easy no bake mini fruit tart recipe will elevate your picnics to a whole new level. Picture a crisp, buttery crust filled with luscious cream cheese and topped with an array of colorful fruits. Each bite is a satisfying blend of sweetness and tartness that makes your taste buds dance! Why will you love them? Because they are quick to prepare, healthy enough to make you feel good, and crowd-pleasing to impress your guests. The fresh fruits not only add a pop of color but also provide seasonal comfort, perfect for warm summer picnics or spring gatherings.
Ingredients

- 1 cup of crushed graham crackers
- 1/4 cup of unsalted butter, melted
- 8 oz cream cheese, softened
- 1/2 cup powdered sugar
- 1 teaspoon vanilla extract
- 1 cup of mixed seasonal fruits (berries, kiwi, mango, etc.)
- Fresh mint leaves for garnish (optional)
Tools Needed
- Mixing bowls
- A tart pan or silicon mini tart molds
- A whisk or electric mixer
- A spatula
- A serving platter
Suggested Substitutions and Additions
- Substitute graham crackers with crushed cookies like Oreos or digestive biscuits for a different flavor.
- Use Greek yogurt instead of cream cheese for a tangy twist.
-Add a drizzle of honey or chocolate syrup over the fruits for added sweetness.
How to Make Easy No Bake Mini Fruit Tarts Perfect for Picnics

Step 1: Prepare the Tart Crust
In a mixing bowl, combine the crushed graham crackers and melted butter until the mixture resembles wet sand.
Press the mixture firmly into the tart pan or mini molds creating an even layer for the crust. You’ll know it’s ready when the crust holds together and feels sturdy. Pop it in the fridge for about 15 minutes to set while you prepare the filling.
Step 2: Make the Cream Cheese Filling
In another bowl, combine your softened cream cheese, powdered sugar, and vanilla extract. Beat it with a whisk or electric mixer until smooth and creamy. Can you smell the sweetness? That’s a sign it’s ready to go!
Step 3: Assemble the Tarts
Remove the tart crusts from the refrigerator and generously spoon the cream cheese filling into each tart shell. Use your spatula to smooth out the filling to the edges for a beautiful finish.
Step 4: Top with Fresh Fruits
Now for the fun part! Arrange your mixed seasonal fruits on top of the cream cheese layer. This will not only enhance the tart’s flavor but also make it a feast for the eyes.
Step 5: Chill and Serve
After assembling, pop the tarts back into the fridge for at least an hour to set before serving. This makes it easy for slicing and ensures every tart holds its shape beautifully.
What to Serve with Easy No Bake Mini Fruit Tarts Perfect for Picnics
These mini fruit tarts are perfect on their own, but if you want to create a beautiful spread, consider pairing them with a refreshing lemonade or iced tea. You can also serve them alongside:
- Baked Blueberry Cottage Cheese Breakfast Bowls
- Blueberry Cottage Cheese Scones
- Blueberry Oat Bars
- Blueberry Butter Swim Biscuits with Lemon Glaze
Tips for Making It Perfect
- For a creamier filling, let your cream cheese soften at room temperature for at least an hour before mixing.
- If your fruit is very juicy, pat it dry with a paper towel before adding it to the tarts. This prevents sogginess.
- You can prepare the tart crust a day in advance, just cover it tightly in plastic wrap before refrigerating.
Storage Instructions
Store any leftovers in an airtight container in the refrigerator for up to three days. If you plan to freeze them, it’s best to freeze the individual crusts without the filling. This way, you can enjoy fresh tarts any time!
General Information
No bake tarts have a wonderful origin rooted in simplicity and enjoyment. They offer a perfect balance between indulgence and health, making them ideal for everyone, from kids at a picnic to adults celebrating special occasions.
Cooking Summary:
Prep Time: 15 minutes
Cook Time: 0 minutes
Total Time: 1 hour 15 minutes (including chilling)
Yield: 12 mini tarts
Category: Dessert
Method: No Baking
Cuisine: American
Diet: Vegetarian
Frequently Asked Questions
Can I use frozen fruit instead of fresh?
Yes, just make sure to thaw and drain excess water.
How can I store these if I have leftovers?
Keep them in the fridge in an airtight container for up to three days.
Can I make these gluten-free?
Absolutely! Use gluten-free graham crackers or almond flour for the crust.
What if my filling is too runny?
If it’s too runny, you may need to add a bit more powdered sugar or cool it longer.
Can I make the tarts the night before?
Yes, they can sit in the fridge overnight without a problem.
Conclusion
These easy no bake mini fruit tarts are not only delightful to look at but also incredibly refreshing and satisfying. They encapsulate the essence of a perfect picnic treat—easy to make, crowd-pleasing, and bursting with flavor. So go ahead, whip up a batch, and indulge in sweet memories with family and friends.
If you love cozy recipes like this, subscribe to my email list!
Interactive Elements
I’d love to hear from you! Please leave a review or comment below. And don’t forget to share a photo of your creations on Pinterest!
Nutritional Information
Approximate values per serving:
Calories: 150
Carbs: 18g
Fat: 8g
Protein: 3g
Fiber: 1g

Lydia Madisyn
Lydia Madisyne is a food lover and recipe creator who believes cooking is all about love, comfort, and connection. On poulef.com, she shares wholesome, flavorful dishes and everyday inspiration to make your kitchen a place of joy.
Delicious Easy No Bake Mini Fruit Tarts Recipe for 12 Servings
By Lydia Madisyn
Ingredients
Instructions
Save & Follow ❤️
PoulefRecipes : Easy recipes - Dinner ideas & More
Save to Pinterest Follow Account