
Thanks for being here! I’m so excited to share this with you. If you’ve ever wanted to make bakery-soft bread at home without the stress of complicated sourdough rituals, this Easy Fluffy Sourdough Sandwich Loaf for Beginners is your new best friend. I promise — you will smell that tangy, warm aroma and feel like a sourdough pro in no time. This recipe is forgiving, soulful, and made for everyday sandwiches and toast.
Overview of Recipe Content
This recipe is an approachable guide to making a soft, fluffy sourdough sandwich loaf at home. It’s designed for beginners: minimal fuss, clear steps, and lots of sensory cues so you know what to look for. Serve this loaf for sandwiches, grilled cheese, French toast, or as the gentle canvas for avocado toast at breakfast. The crumb is tender and slightly open, the crust thin and golden, with the characteristic gentle tang of a well-fed starter — but nothing overpowering.
Why readers will love it:
It’s beginner-friendly (no complex shaping, no banneton required).
It’s versatile — perfect for sandwiches, toasts, or even soft bread pudding.
It’s slightly tangy and very soft, making it great for kids and toast lovers alike.
Seasonal benefit: sourdough fermentations can be easier in warmer months, but this method works year-round with small timing tweaks.
Nutritional benefits:
- Made with whole-ingredient flour and water, this loaf offers complex carbs and the benefits of natural fermentation (improved digestibility for many people).
- You can swap to whole wheat for extra fiber or use a mix for richer flavor.
Ingredients
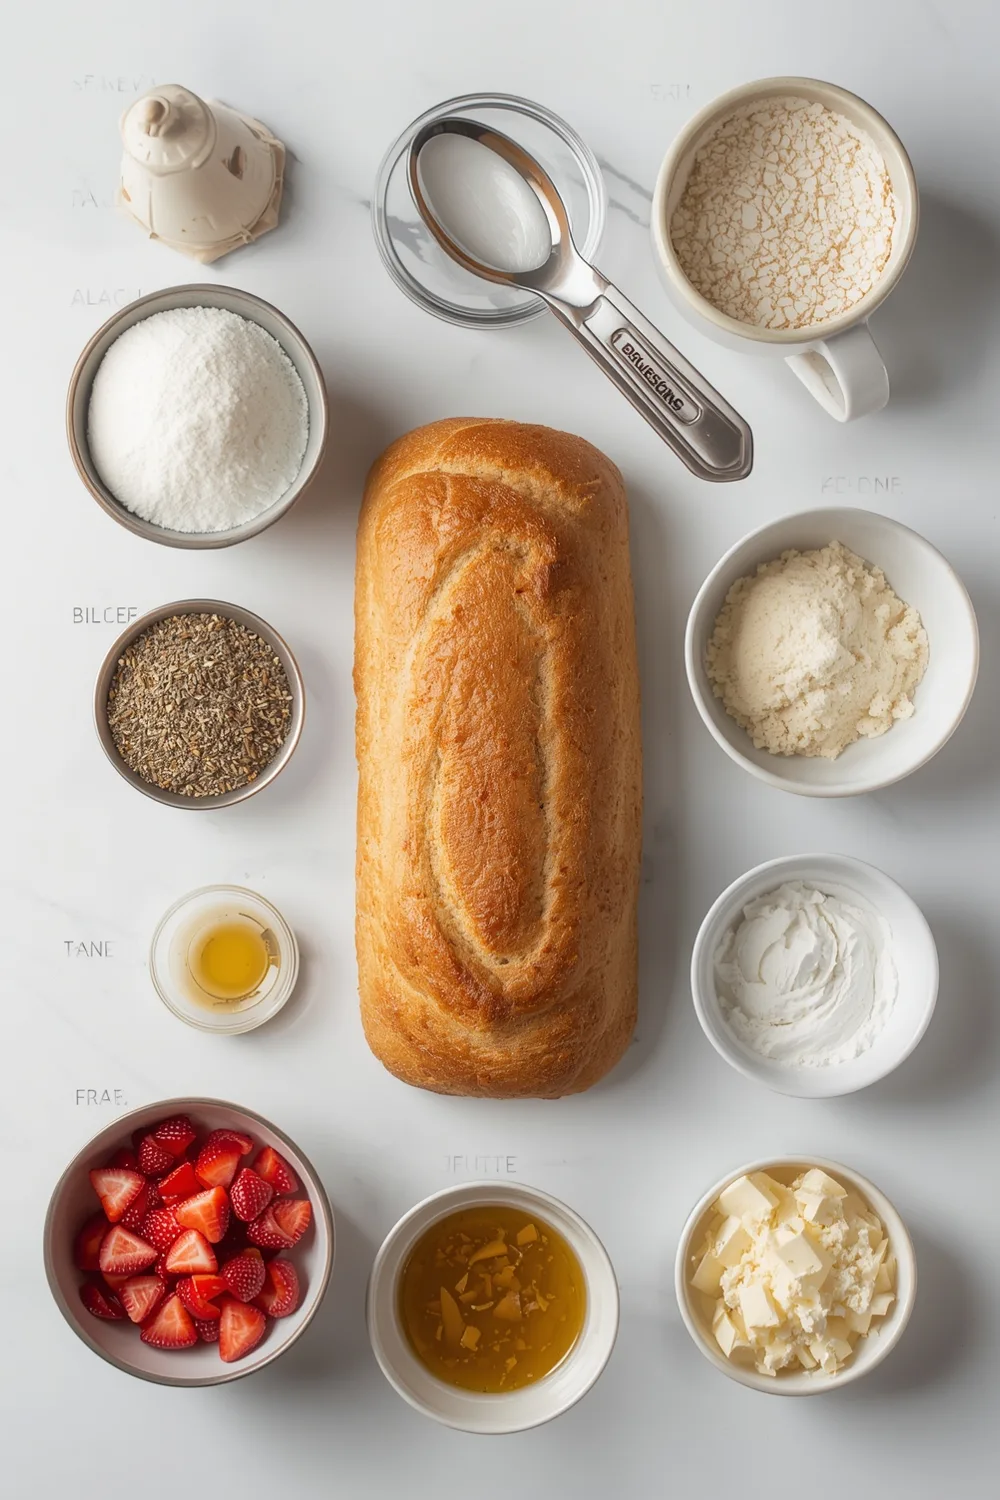
- 500 g (about 4 cups) bread flour (or 400 g bread flour + 100 g whole wheat for a heartier loaf)
- 350 g (about 1 1/2 cups) water, room temperature
- 100 g active sourdough starter (fed, bubbly and doubling within 4–6 hours)
- 10 g (1 3/4 tsp) salt
- 20 g (1 1/2 tbsp) honey or sugar (optional, helps with browning and tenderness)
- 20 g (1 1/2 tbsp) softened butter or 2 tbsp olive oil (optional, keeps crumb soft)
Tools Needed
- Large mixing bowl
- Dough scraper or spatula
- Bench or clean surface for gentle folding
- 9×5-inch loaf pan (lightly greased) or pullman loaf pan for sandwich-perfect sides
- Kitchen scale (highly recommended for consistent results)
- Oven and a small oven-safe dish or tray for steam (or a cast-iron skillet)
- Cooling rack
Suggested Substitutions and Additions
- Substitute bread flour with all-purpose flour (slightly softer crumb, use 450 g AP + 50 g whole wheat if desired).
- Use olive oil instead of butter for dairy-free loaf.
- Add seeds (sunflower, flax) to the top before baking for texture.
- Swap honey for maple syrup for vegan option (omit butter or use vegan butter).
- For a lighter whole-grain loaf, replace up to 25% of flour with spelt or einkorn.
How to Make Easy Fluffy Sourdough Sandwich Loaf for Beginners
Step 1: Feed and Check Your Starter
Make sure your starter is active and bubbly. It should double 4–6 hours after feeding. If it’s sluggish, give it another feed or a warmer spot. The starter is the engine here — when it’s happy, the loaf will be too.
Step 2: Mix the Dough (Autolyse)
In a large bowl, weigh the flour and water. Mix until no dry flecks remain. No need to knead — just a rough stir.
Cover and let rest 30–45 minutes. This is the autolyse — gluten begins forming and the dough becomes silkier. You’ll notice the dough smell a touch sweeter and the texture smoother. That’s the sign it’s working.
Step 3: Add Starter, Salt, and Optional Ingredients
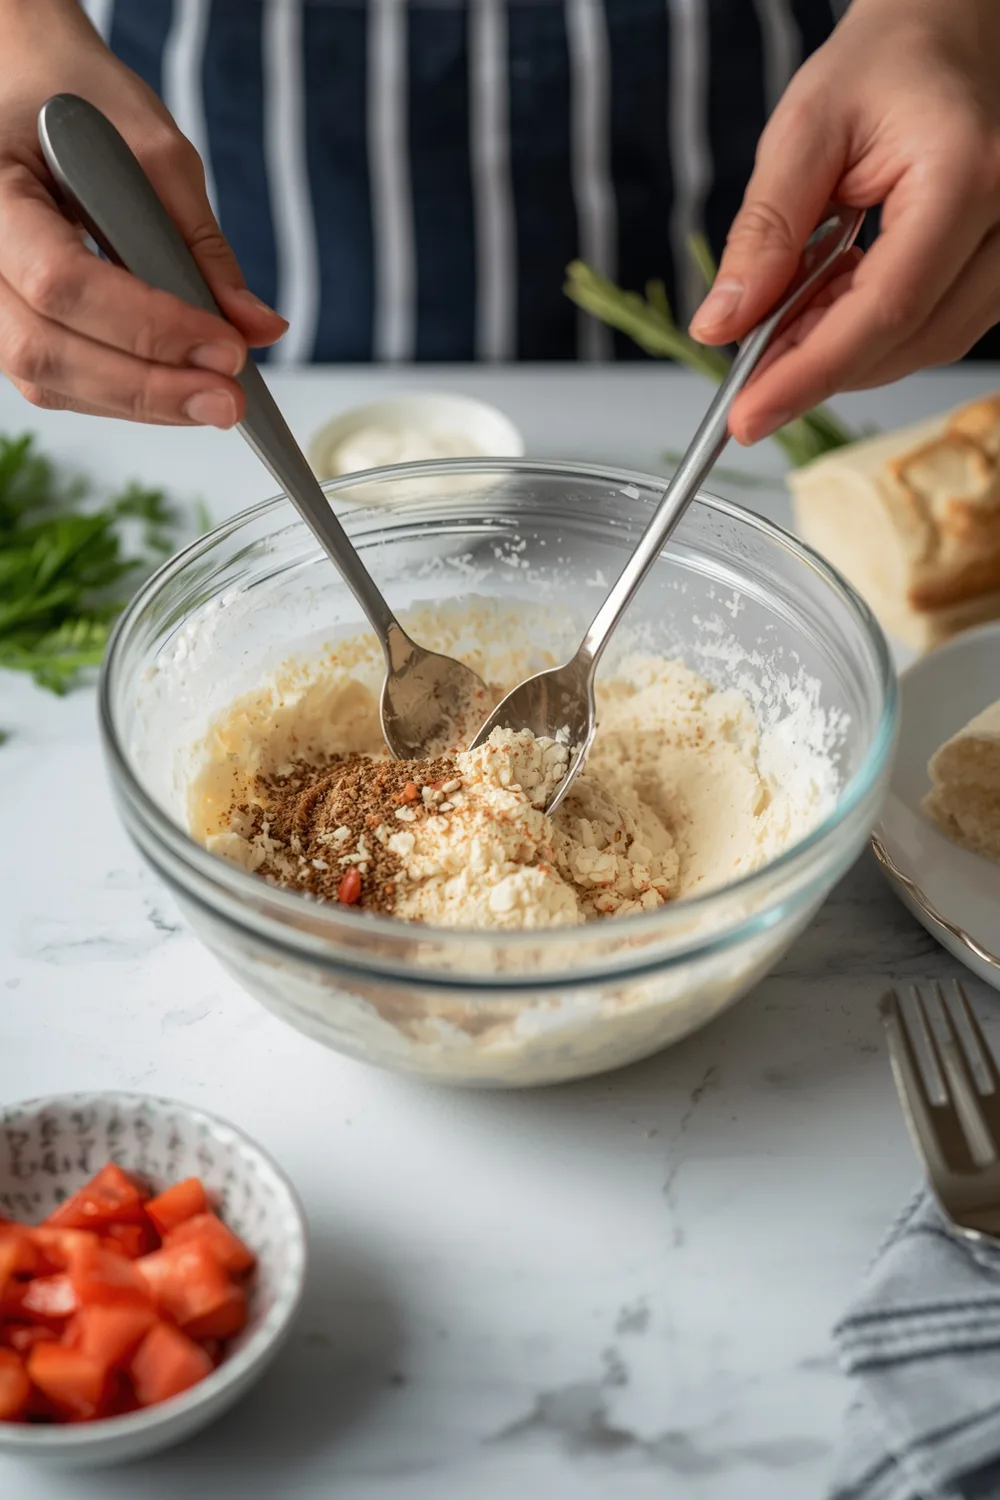
After autolyse, add your active sourdough starter and honey (if using). Mix by pinching and folding until incorporated.
Sprinkle in the salt and the butter or oil. Mix until the dough is cohesive. The dough will feel slightly tacky but not sticky to the touch. You’ll know it’s ready when it pulls away from the bowl in folds.
Step 4: Bulk Fermentation with Fold Technique
Cover the bowl and let the dough rest at room temperature (about 70–74°F / 21–23°C) for 3–4 hours, depending on warmth. Every 30–45 minutes for the first 2 hours, perform gentle stretch-and-folds: wet your hand, lift one side and fold over, rotate the bowl, repeat 4 times.
The dough should rise about 30–50% and feel pillowy. You’ll see tiny bubbles on the surface and inside if you peek. That’s the tangy engine again — smell it; a mild, yeasty, slightly fruity aroma is perfect.
Step 5: Shape and Pan
Gently turn the dough onto a lightly floured surface. Pre-shape into a loose rectangle and then fold into a tight log to fit into your loaf pan. Keep the top seam underneath for a smooth top.
Place the dough seam-side down into a greased 9×5 loaf pan. Lightly mist the top with water and cover with plastic wrap or a damp towel.
Step 6: Final Proof (Cold or Warm)
Option A — Room Temperature: Let it proof 1–2 hours until it puffs to just above the pan rim. The dough should spring back slowly when poked.
Option B — Overnight Cold Proof (recommended for flavor): Refrigerate the covered loaf overnight (8–12 hours). Chilling slows fermentation and develops flavor — you’ll notice a deeper, tangy-sweet profile.
Step 7: Bake with Steam for a Thin Crispy Crust
Preheat the oven to 425°F (220°C) with a small empty tray on the bottom rack. If you have a Dutch oven, you can use that instead of a loaf pan for extra crust.
When the oven hits temperature, pour a cup of boiling water into the hot tray to create steam, and immediately slide the loaf on the middle rack. Bake for 10 minutes at 425°F, then reduce heat to 375°F (190°C) and bake another 20–25 minutes until internal temp reaches 200–205°F (93–96°C). The crust should be golden, and the loaf should sound hollow when you tap the bottom. You’ll know it’s done when it smells nutty and caramelized — like the warm center of a bakery.
Step 8: Cool Before Slicing
Cool the loaf on a rack for at least 2 hours. I know it’s tempting, but slicing too soon will make the crumb gummy. Patience rewards you with perfect, fluffy slices.
What to Serve with Easy Fluffy Sourdough Sandwich Loaf for Beginners
This loaf is a stage player: it makes anything shine. Try it with:
- Classic BLT or turkey and Swiss sandwiches
- Smoked salmon, cream cheese, and dill for brunch
- Thick-cut toast with melting butter and jam
- Use leftover slices for grilled cheese — it crisps beautifully
Related recipes that pair wonderfully:
- Easy cottage cheese cloud bread — a lighter, protein-rich alternative for low-carb days.
- Low carb cheesy cauliflower bread — great if someone at the table needs a low-carb swap.
- Grandma approved high protein biscuits — flaky, tender biscuits for sausage-and-egg mornings.
- Sweet ending: Flourless almond coconut cake with greek yogurt — if you want a simple cake to go with tea and your loaf slices for a cozy afternoon.
Tips for Making It Perfect
Prep in advance: Feed your starter the night before so it’s peak-active by mixing time.
Fixing common mistakes: If dough is under-proofed (dense crumb), next time lengthen bulk fermentation or proof warmer. If over-proofed (collapses), shape gently and reduce proof time.
Double the batch: Use two loaf pans and bake separately or side-by-side if your oven has even heat. Watch the internal temp for doneness.
How to speed up: Use warmer water (not hot) and a warmer proofing spot to accelerate fermentation, but keep an eye on rise to avoid overproofing.
Texture control: For a tighter crumb, reduce hydration slightly by 10–20 g water; for airier crumb, increase hydration by 10–20 g and handle gently.
Storage Instructions
- Room temperature: Store the cooled loaf in a bread bag or wrapped in a cotton towel for up to 3 days. Keep away from direct sunlight.
- Refrigeration: Refrigerating dries bread faster — not recommended unless you’ll use it within a day.
- Freezing: Slice and freeze in a sealed bag for up to 3 months. Toast slices straight from the freezer or thaw at room temp.
- Reheating: For a fresh-from-oven feel, sprinkle slices with a bit of water and toast in a skillet or toaster oven until warm and slightly crisp.
General Information
Sourdough is an ancient method, predating commercial yeast by centuries. The tang comes from lactic acid bacteria working alongside yeast in the starter. For me, sourdough baking is a ritual that taught patience—the slow rhythm of feed, wait, fold, and bake. My grandmother would set a bowl by the window, and the house would feel like a warm bakery by noon. This sandwich loaf is my simplified version of that comforting tradition: approachable enough for weeknight baking, soulful enough for Sunday breakfasts.
Cooking Summary:
Prep Time: 20–35 minutes
Cook Time: 30–40 minutes
Total Time: 4–16 hours (includes bulk fermentation and optional overnight proof)
Yield: 1 standard 9×5 loaf (about 12 slices)
Category: Bread
Method: Baking
Cuisine: American / Artisan-style
Diet: Vegetarian (can be made vegan with swaps)
Frequently Asked Questions
Q: Can I make this with all-purpose flour?
A: Yes. Use about 450 g all-purpose and tweak hydration: start with 340 g water and add a tablespoon if the dough feels too stiff.
Q: How long will the loaf keep?
A: At room temperature in a bread bag, 2–3 days is ideal. Slice-and-freeze for longer storage (up to 3 months).
Q: My crumb is gummy — what went wrong?
A: Soggy crumb comes from under-baking or slicing too soon. Use an instant-read thermometer (200–205°F internal temp) and allow full cooling before cutting.
Q: Can I speed up fermentation in winter?
A: Yes — use a proofing box or a warm spot like the oven with just the light on. Keep a close eye; warmer temps accelerate proofing.
Q: Any tips for a more sour flavor?
A: Cold overnight proof develops tang. Also using a stiffer starter and a longer bulk fermentation can bump the acidity.
Conclusion
This Easy Fluffy Sourdough Sandwich Loaf for Beginners took years of experimenting down to one friendly, forgiving loaf. It captures the comforting tang of traditional sourdough while being practical for everyday life. Whether you’re a total novice or someone rekindling a love for bread, this recipe gives you that bakery feeling without the intimidation.
If you love cozy recipes like this, subscribe to my email list!
Interactive Elements
I’d love to hear how your loaf turns out. Leave a review or comment below, tell me what you changed, or how you served it. Share a photo on Pinterest and tag me — I seriously live for those golden, toasted slices.
Nutritional Information
Approximate per slice (1/12 loaf):
Calories: 160 kcal
Carbs: 30 g
Protein: 5 g
Fat: 3 g
Fiber: 1.5 g
Warm thanks for baking with me — it means the world. Happy slicing, toasting, and sandwich-making. Until next time, keep your starter fed and your oven warm. Goodbye, friend.

Lydia Madisyn
Lydia Madisyne is a food lover and recipe creator who believes cooking is all about love, comfort, and connection. On poulef.com, she shares wholesome, flavorful dishes and everyday inspiration to make your kitchen a place of joy.

Delicious Easy Fluffy Sourdough Sandwich Loaf for Beginners
By Lydia Madisyn
Ingredients
Instructions
Save & Follow ❤️
PoulefRecipes : Easy recipes - Dinner ideas & More
Save to Pinterest Follow Account